Framekit templates
Start from a designer-made template
 Use template
 Use template
 Use template
 Use template
 Use template
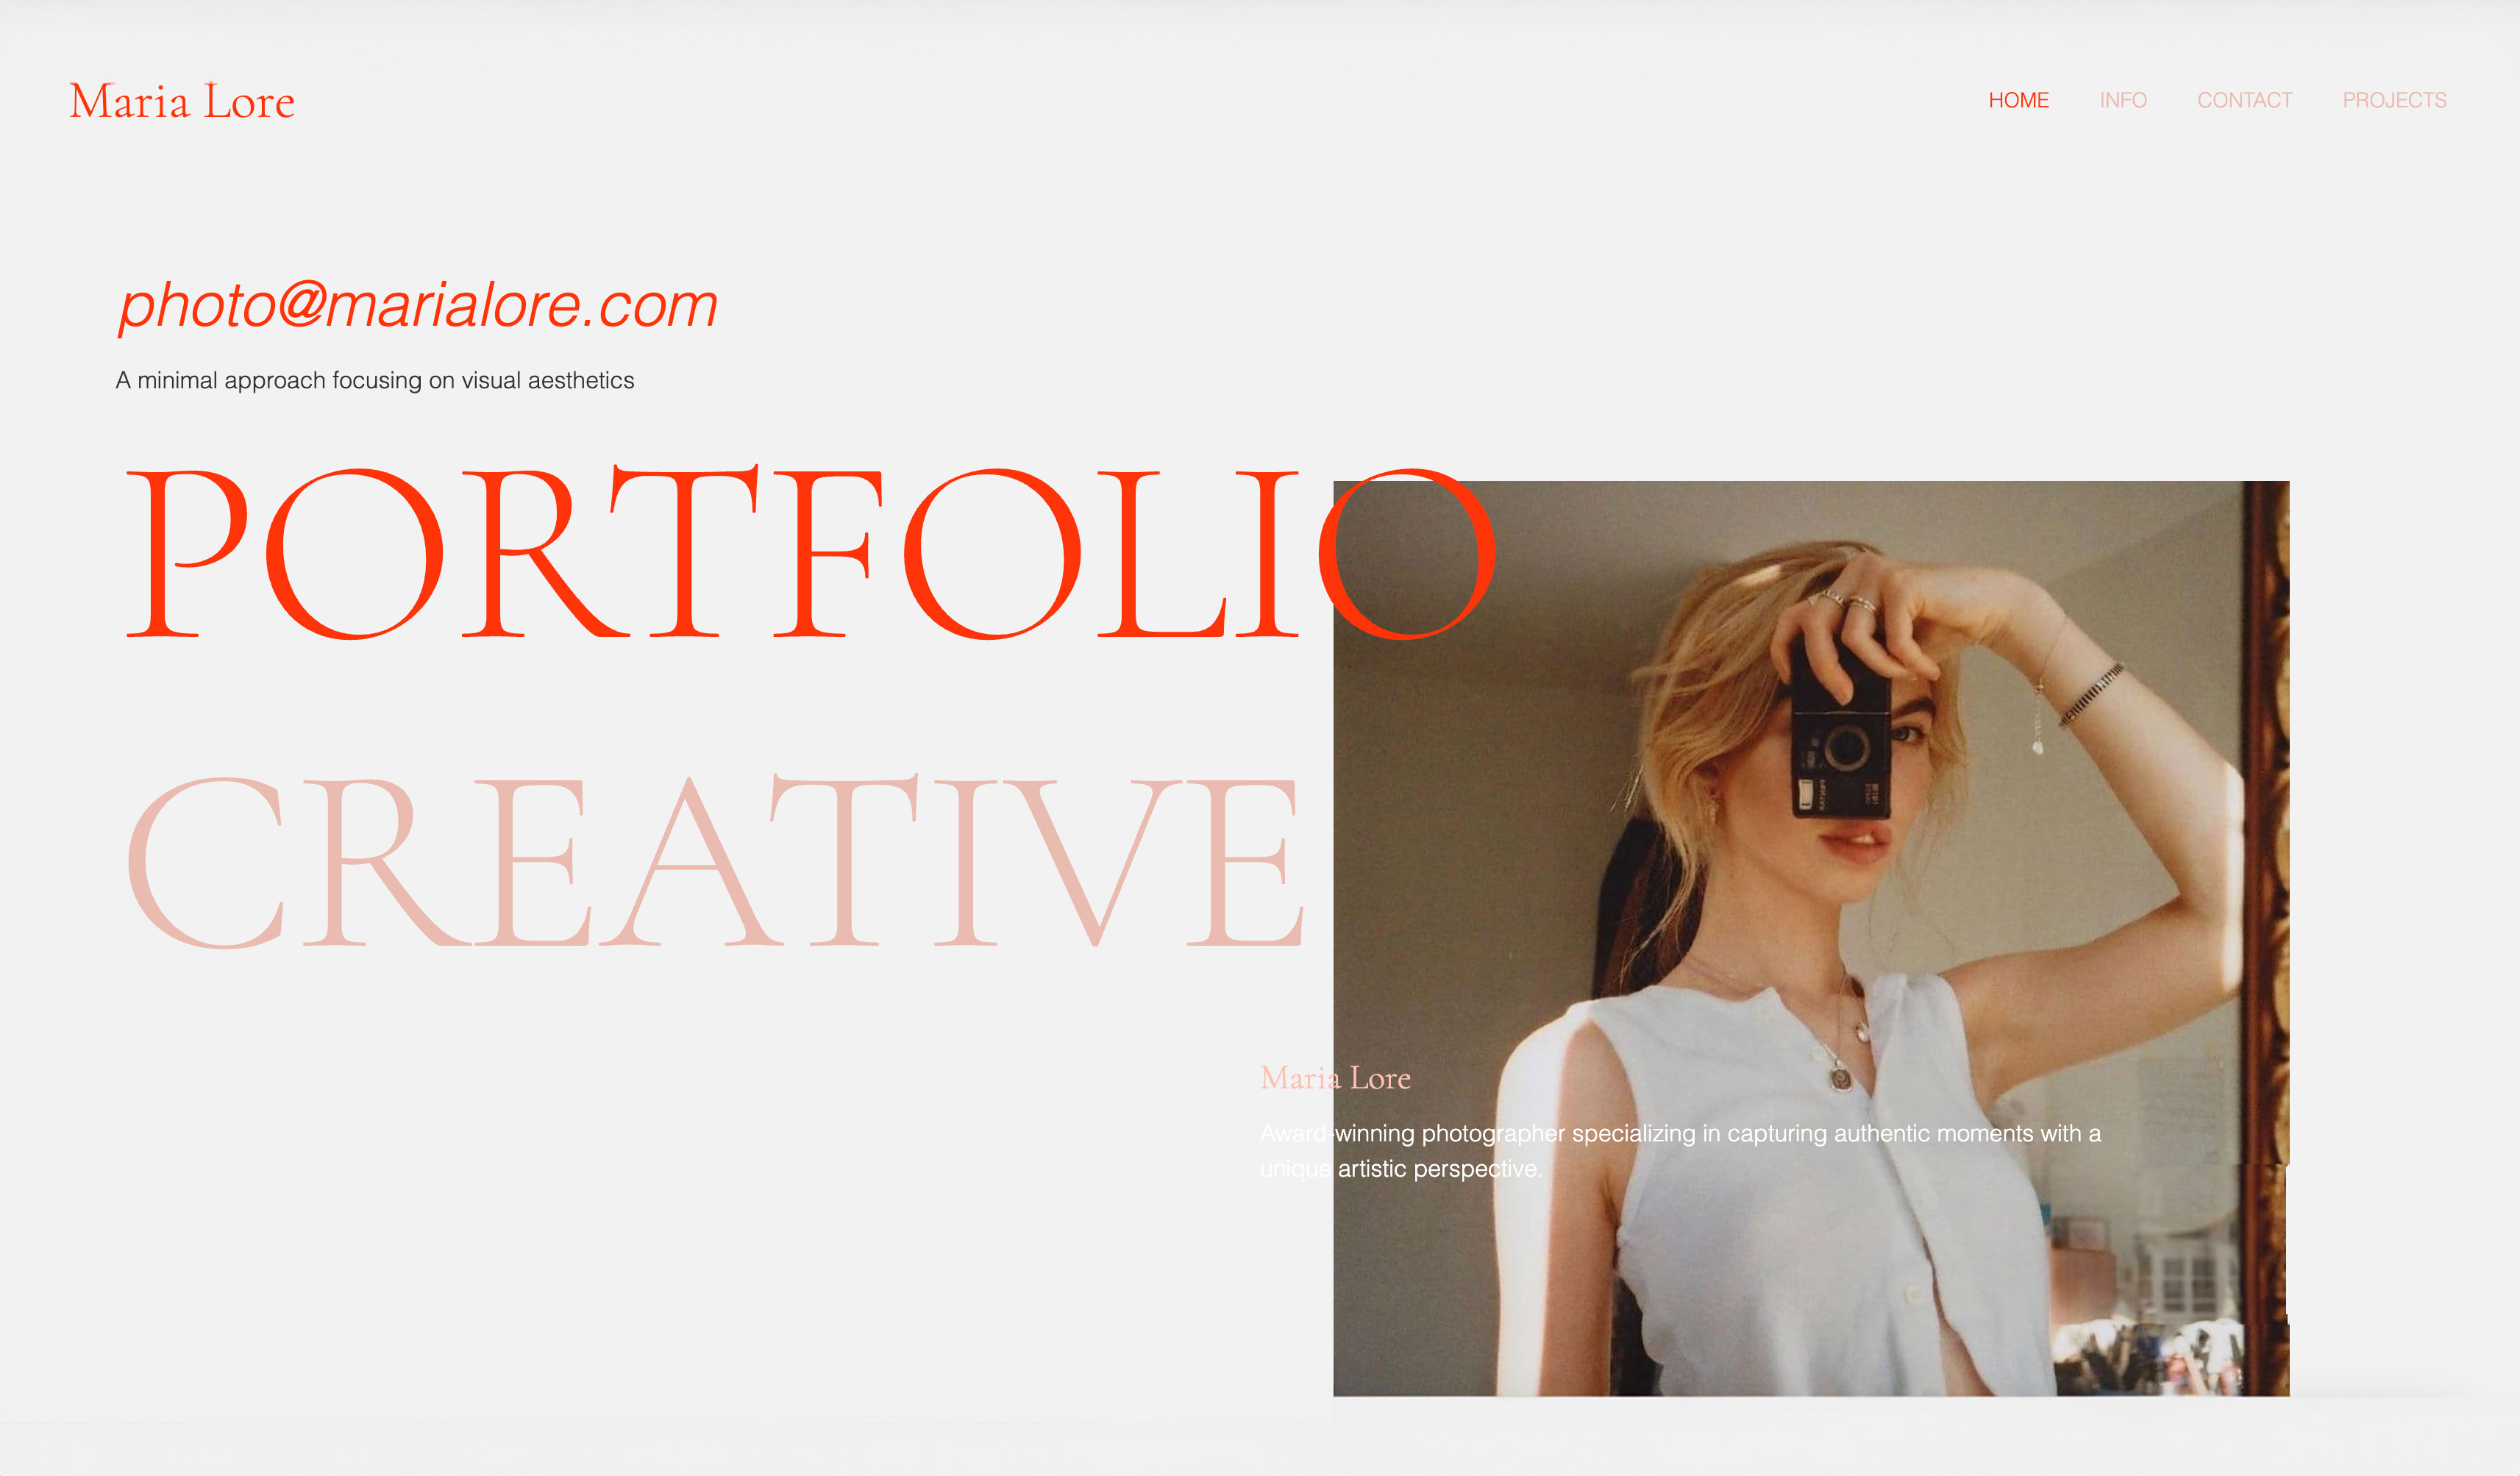 Use template
 Use template
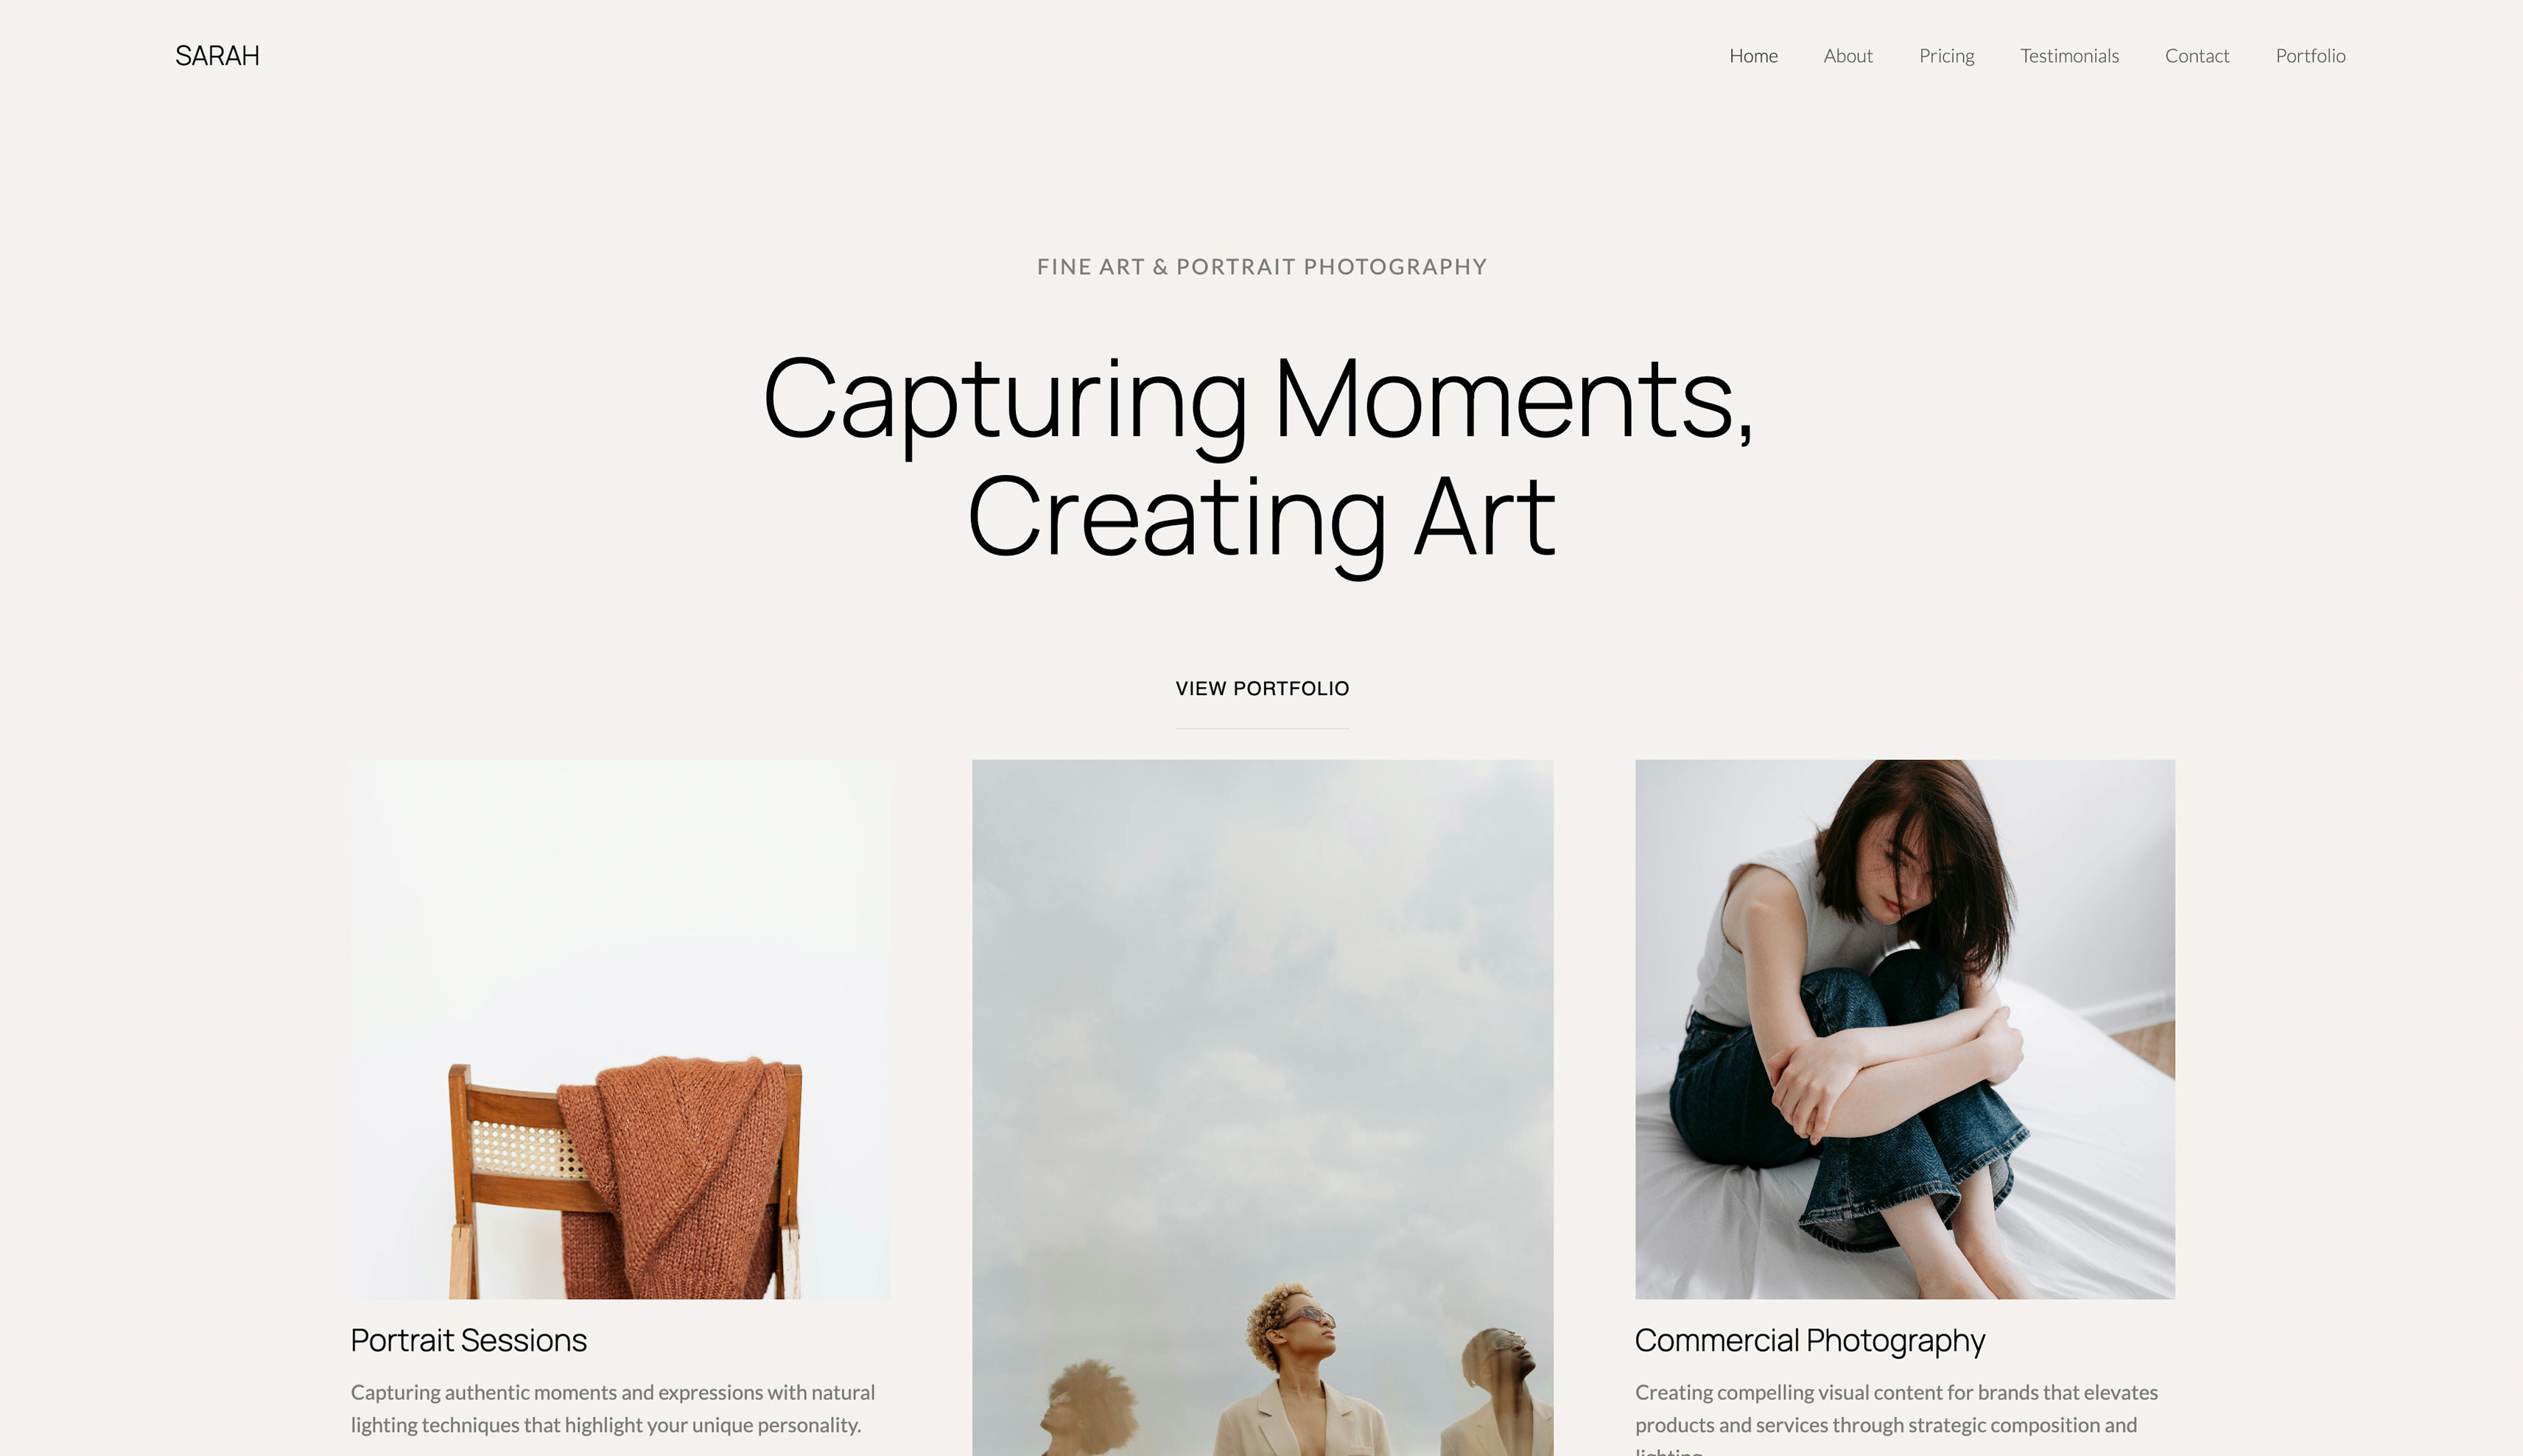 Use template
The fastest way to turn photography into a business is to build a photography website that works for you, not one that just sits there looking pretty.
A referral hears about you, searches your name, and lands on your site - and in those few seconds your website either turns them into an inquiry or loses them.
It is your storefront, your portfolio, your booking form, and increasingly your gallery and store, all in one.
And in 2026, building one no longer requires code, a designer, or a month of work: a photographer can have a professional site live this weekend, if they know the steps.
This guide walks through building a photography website from scratch, step by step, with a real example running through it: a photographer building their first professional site over a weekend.
The technology has made the building easy; what still trips people up is knowing what pages to make, how to choose a build route, which work to show, and how to get found.
We cover all of it, and we are honest about the three ways to build - the AI route, the template route, and the custom route - and who each suits. Every tool detail was re-verified in July 2026.
Corrected in October 2026: Framekit's store sells digital downloads only, so the print-selling advice below now points to print-lab galleries and shipping stores instead.
Building a photography website is no longer a coding project - it is a weekend of clear steps.
A photography website is a photographer's owned online home - a portfolio that shows the work, plus pages to win inquiries, deliver client galleries, and sell prints or products - that turns visitors into booked clients rather than just displaying images.
To build a photography website in 2026, plan your pages (portfolio, about, contact, galleries, and a store), choose a build route, curate your strongest work, build the site, connect a custom domain and set up galleries and a store, then launch and set up basic SEO so you get found.
The fastest route for most photographers is an AI website builder like Framekit, which builds the site for you from your work - though a template builder like Squarespace suits those who like tweaking templates, and custom WordPress suits skilled DIYers who want full control.
Pick the route that matches your skills and how much you want done for you.
Framekit is an AI website builder that builds a photographer's portfolio, galleries, and store from your work, and the free plan needs no credit card.
Full disclosure: Framekit, which we recommend as the fastest build route below, is our own product, so weigh that. We are honest that it is not the only good route: a hand-built WordPress site gives skilled DIYers the most control at the lowest cost if they have the time and technical ability, and a template builder like Squarespace suits photographers who enjoy choosing and tweaking templates themselves. The AI route is fastest and needs no design work, which is its advantage, but the right route depends on you. We re-verified every tool in July 2026, and we name the route that fits each type of photographer.
Step 1: Plan Your Pages
Before building anything, decide what your site needs to do and the pages that serve that.
A photography website's core pages are a portfolio to show the work, an about page to build trust, and a contact page to capture inquiries - and for a working photographer, client galleries to deliver shoots and a store to sell prints or digital products.
For our example first-timer, that is five essentials: portfolio, about, contact, galleries, and a simple store, each with a clear job in turning a visitor into a client.
In one lineplan the pages before you build - portfolio, about, contact, and, for a working photographer, galleries and a store - because a site built around what it must do (show work, win inquiries, deliver, sell) beats one assembled from whatever a template happened to include.
Keep the structure lean and purposeful.
Every page should earn its place by doing a job: the portfolio shows your best work, the about page tells clients who you are and why to trust you, the contact page makes inquiring effortless, the galleries deliver client work, and the store sells.
Avoid padding the site with pages nobody needs - a bloated menu confuses visitors, while a focused site guides them from admiring your work to booking you.
Sketch these pages first, even on paper, so the build has a plan rather than growing haphazardly.
Our best photography business tools guide covers where the site fits your wider stack.
Step 2: Choose How to Build It
With a plan, choose how to build, because the route shapes the time, cost, and skill required.
There are three main routes: an AI website builder that generates the site for you, a template builder where you pick and customize a template, or a custom build on WordPress where you assemble it yourself.
They trade off speed against control, and the right one depends on how much you want done for you versus how much you want to control.
In one linethe three build routes - an AI builder, a template builder, or custom WordPress - trade speed for control, so choose the AI route to have it built for you fastest, a template builder to tweak a design yourself, or WordPress for full control if you have the skills and time.
| Build Route | Best For | Speed |
|---|---|---|
| AI builder (Framekit) | Photographers who want it built for them | Fastest, hours |
| Template builder (Squarespace, Wix) | Those who like picking and tweaking templates | Moderate, a day or more |
| Custom WordPress | Skilled DIYers wanting full control | Slowest, days or more |
For most photographers who want a professional site without design work, an AI builder like Framekit is fastest - it generates the site from your work in hours.
Template builders like Squarespace and Wix give you more hands-on control at the cost of doing the layout yourself over a day or more.
Custom WordPress offers the most control and flexibility but requires real technical skill and the most time. Match the route to your skills and how much you want to do yourself.
Our best website builders for photographers guide compares the platforms in depth.
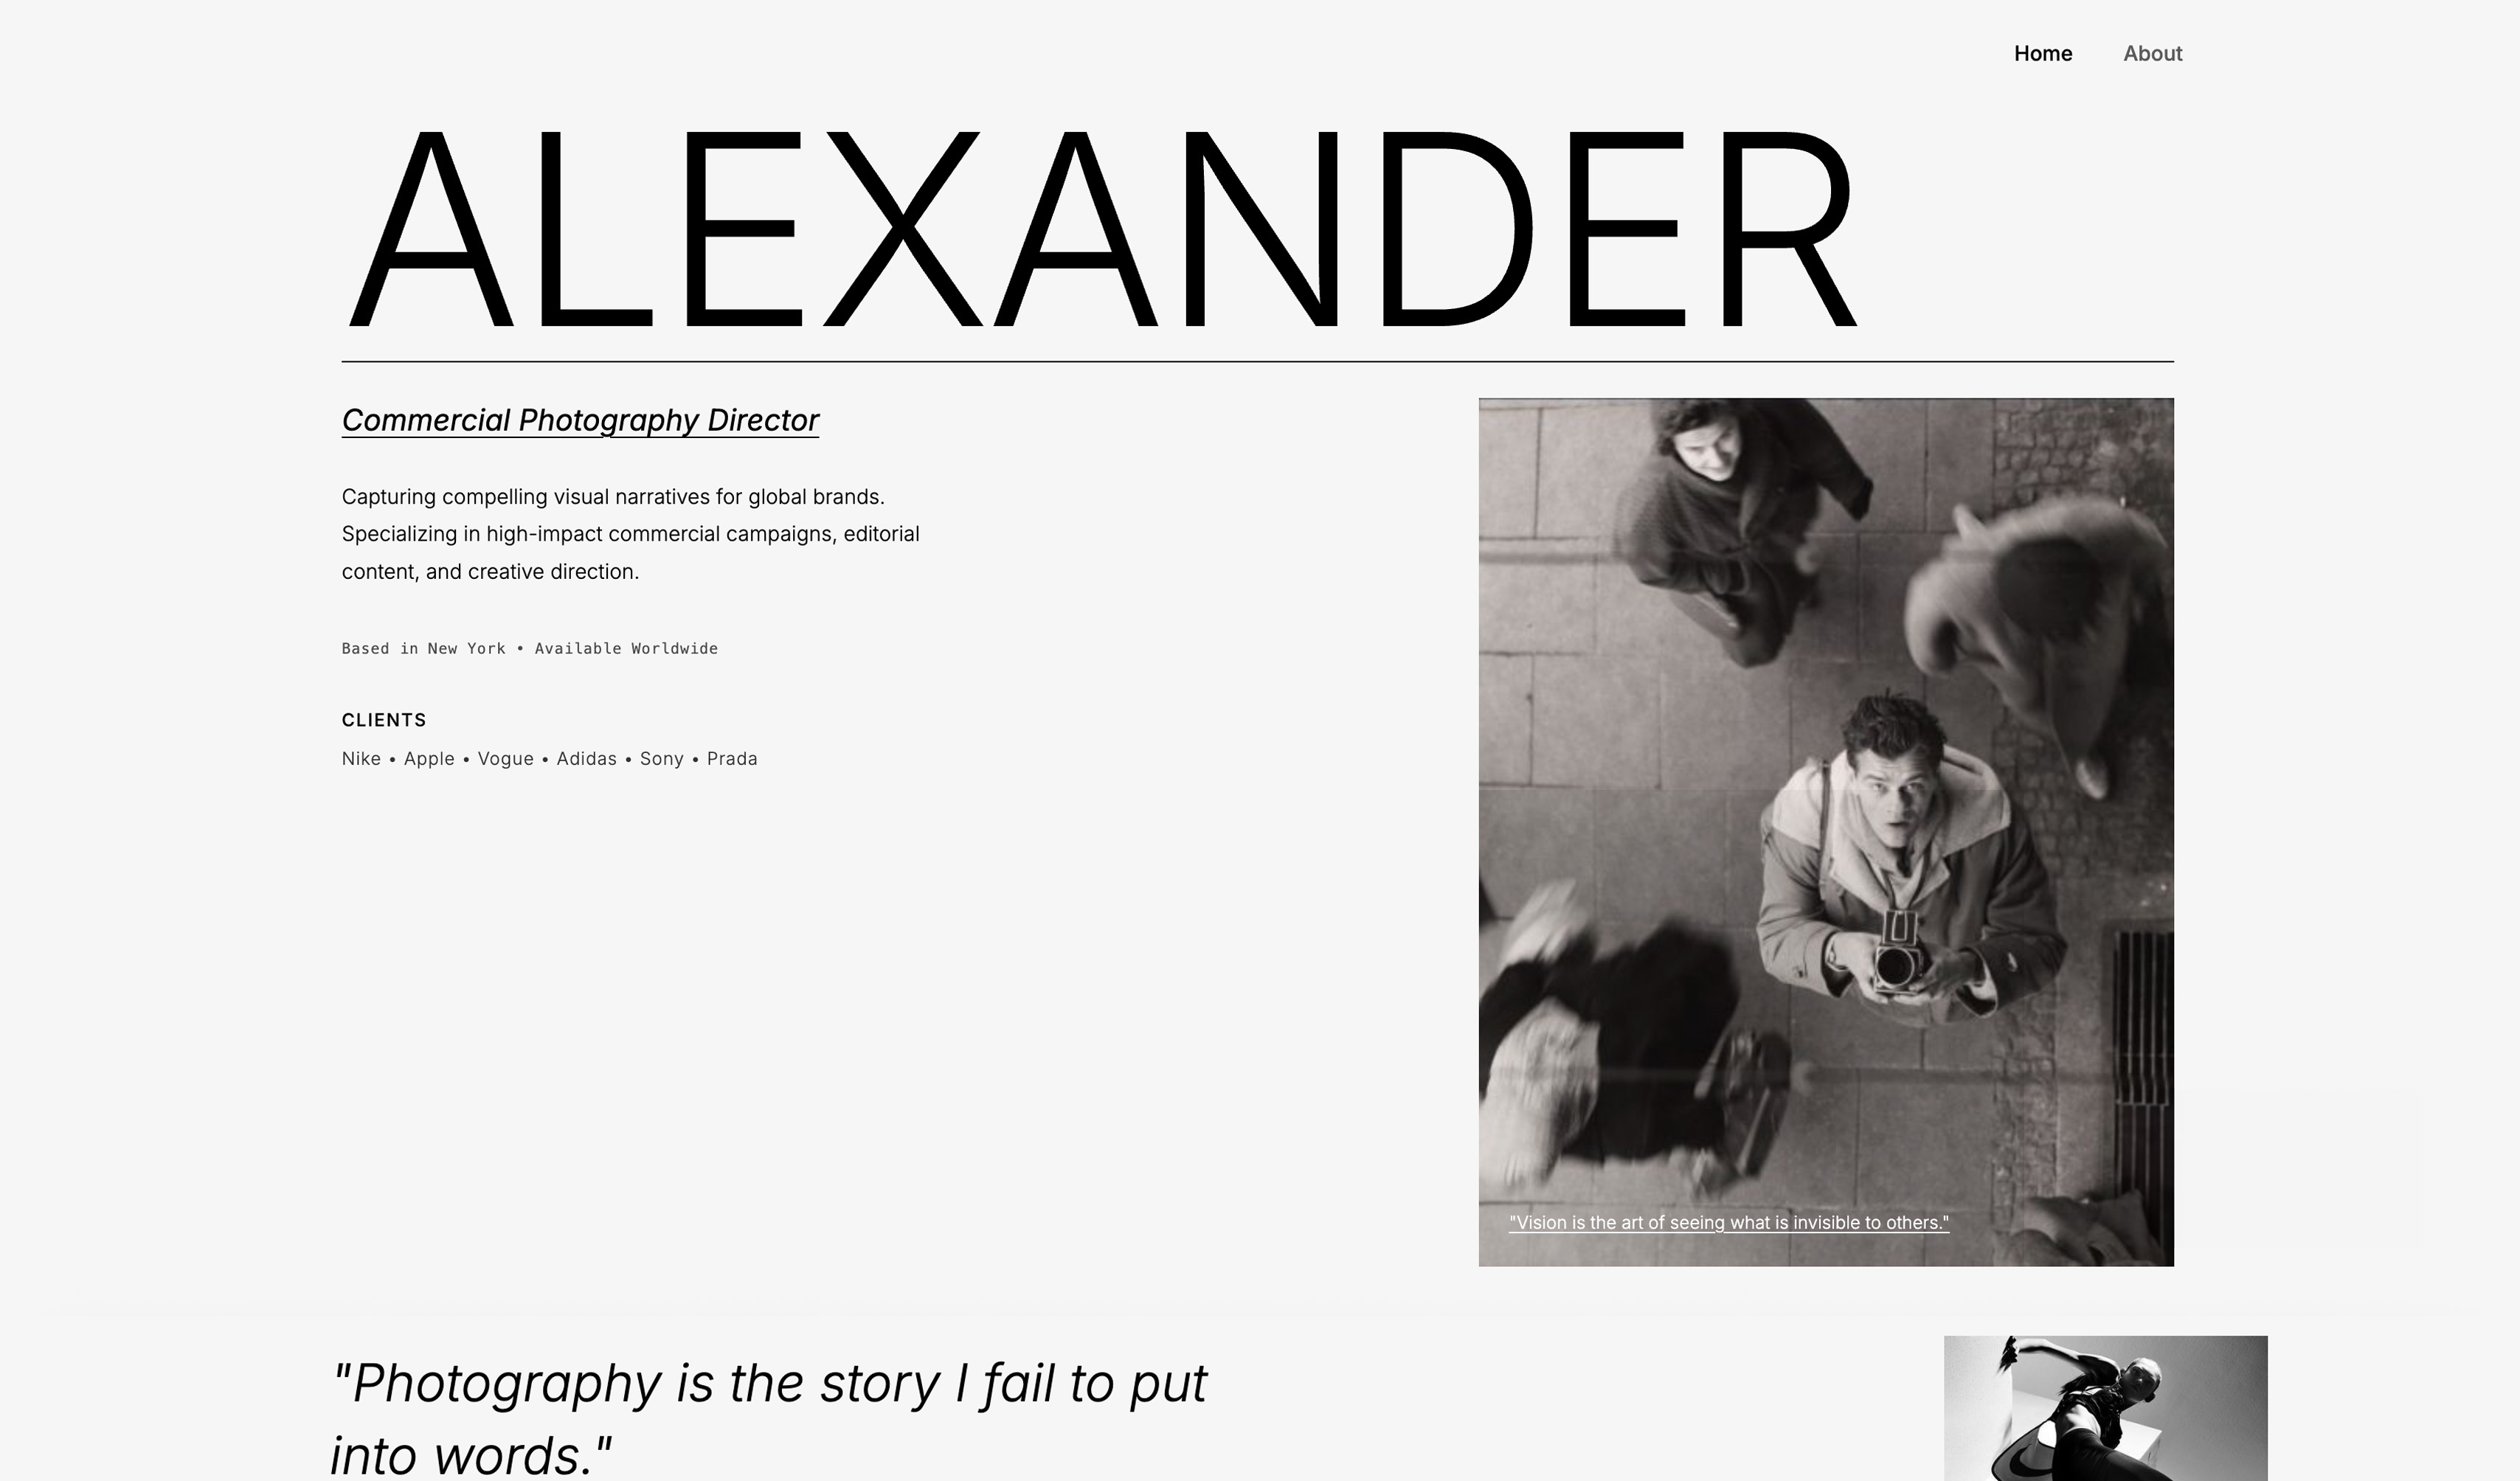
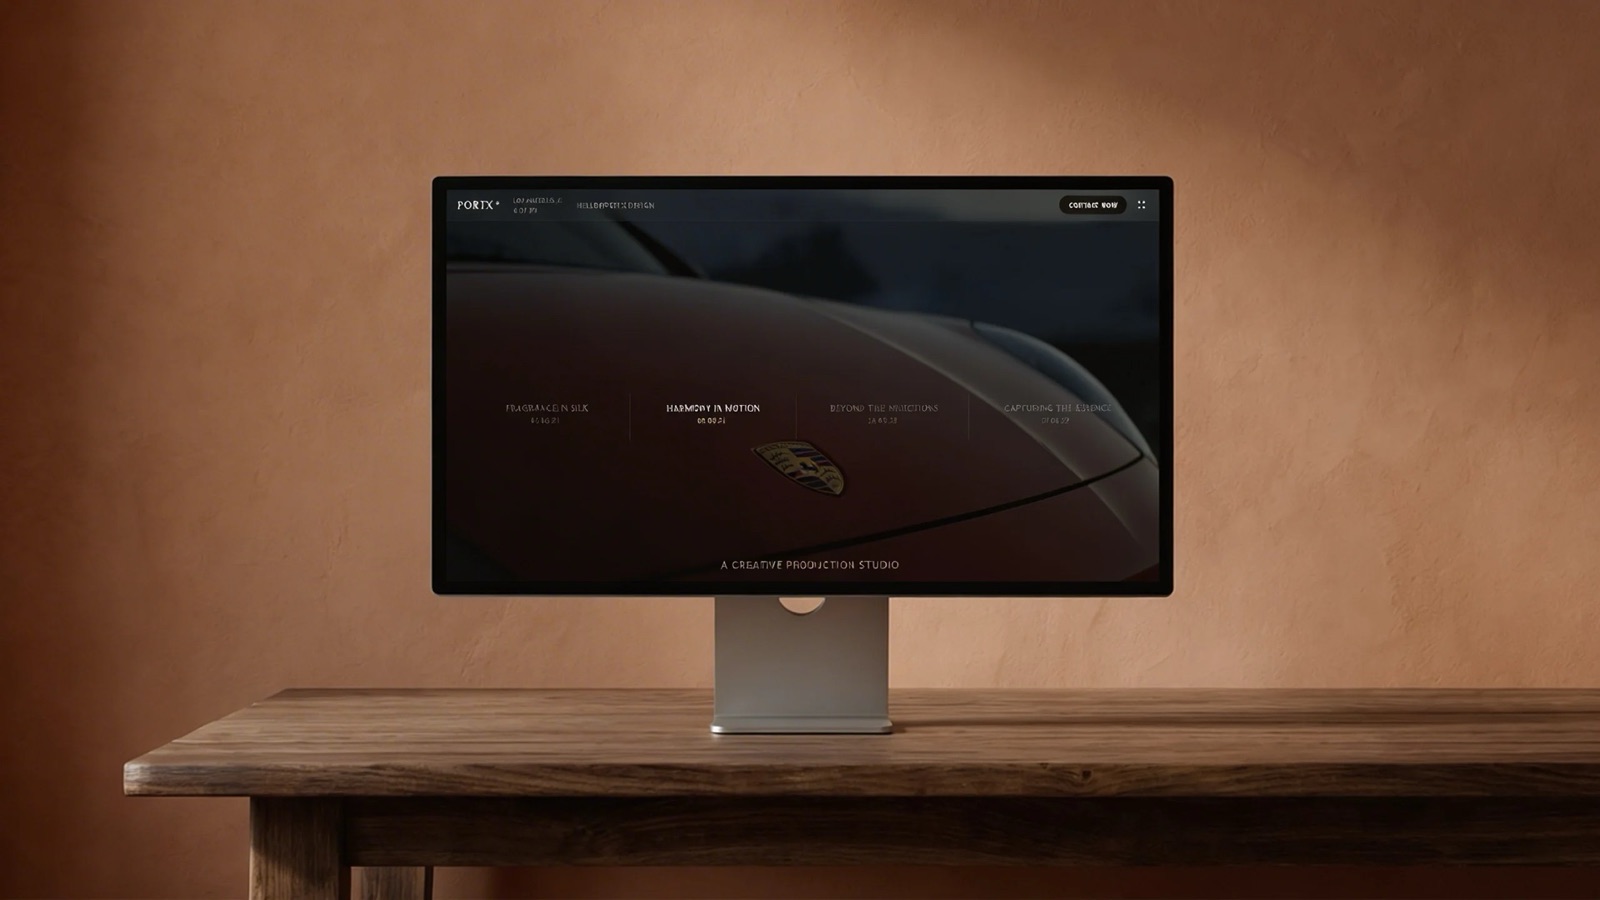
Step 3: Choose and Curate Your Best Work
A photography website lives or dies on the work it shows, so curate ruthlessly.
Choose only your strongest images - the ones that represent the work you want to book more of - because visitors judge you on your weakest displayed photo, not your best.
For our example photographer, that means selecting a tight portfolio of standout images in the genres they want to shoot, rather than a sprawling archive of everything they have ever taken.
In one linecurate your portfolio to only your strongest work in the genres you want to book, because a tight set of standout images sells you better than a large mixed one, and visitors judge your skill by the weakest photo you choose to show.
Resist showing everything. A portfolio of 20 to 40 exceptional images makes a stronger impression than 200 mixed ones, and it loads faster and reads cleaner.
Show the work you want more of - if you want weddings, lead with weddings, not the family session you took as a favor - because your portfolio trains visitors on what you do.
Group the work by genre or project so a visitor looking for a wedding photographer sees weddings immediately.
The curation is the single biggest lever on how professional your site feels, more than any design choice, so spend real time choosing well.
Step 4: Build the Site
Now build, using your chosen route. With an AI builder like Framekit, you provide your work and preferences and the AI generates a designed site you refine - the fastest path, needing no design skill.
With a template builder, you pick a template and customize its layout, colors, and content yourself. With WordPress, you install a theme and assemble the pages.
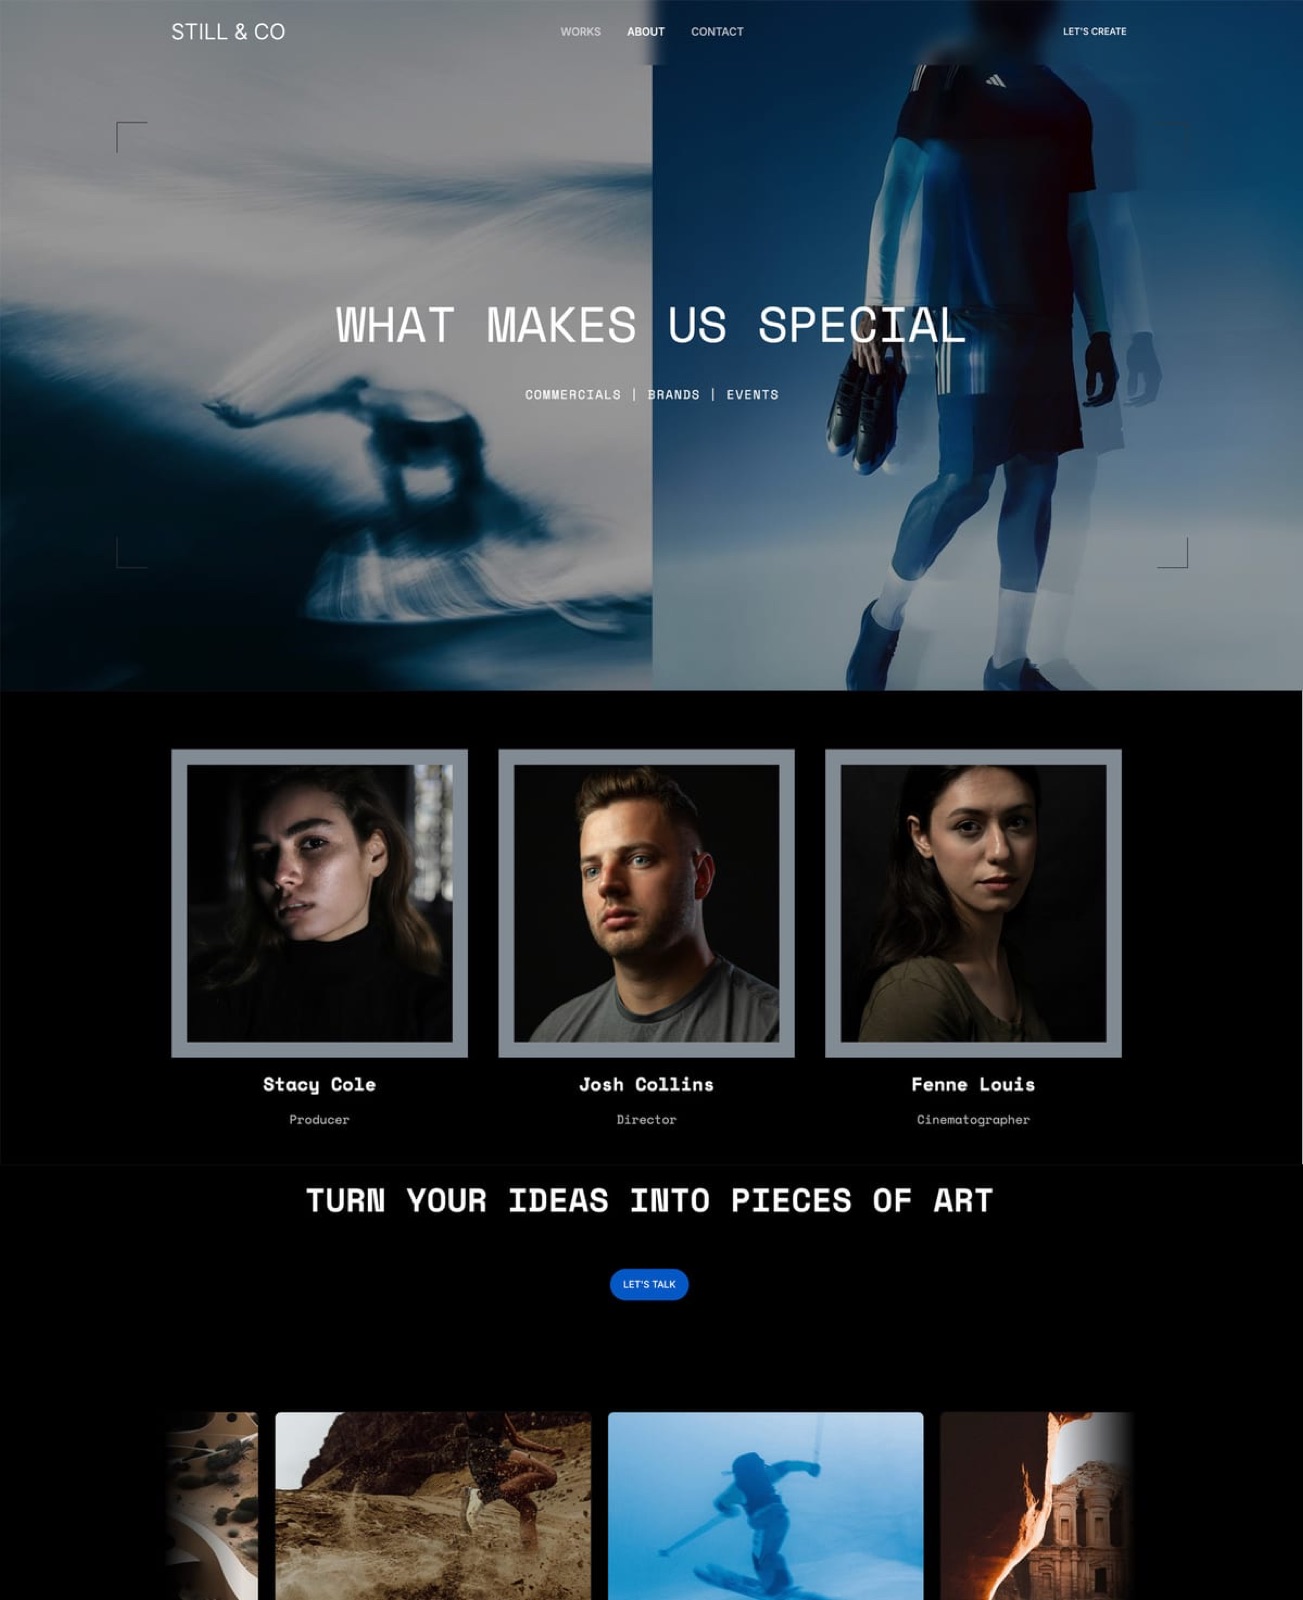
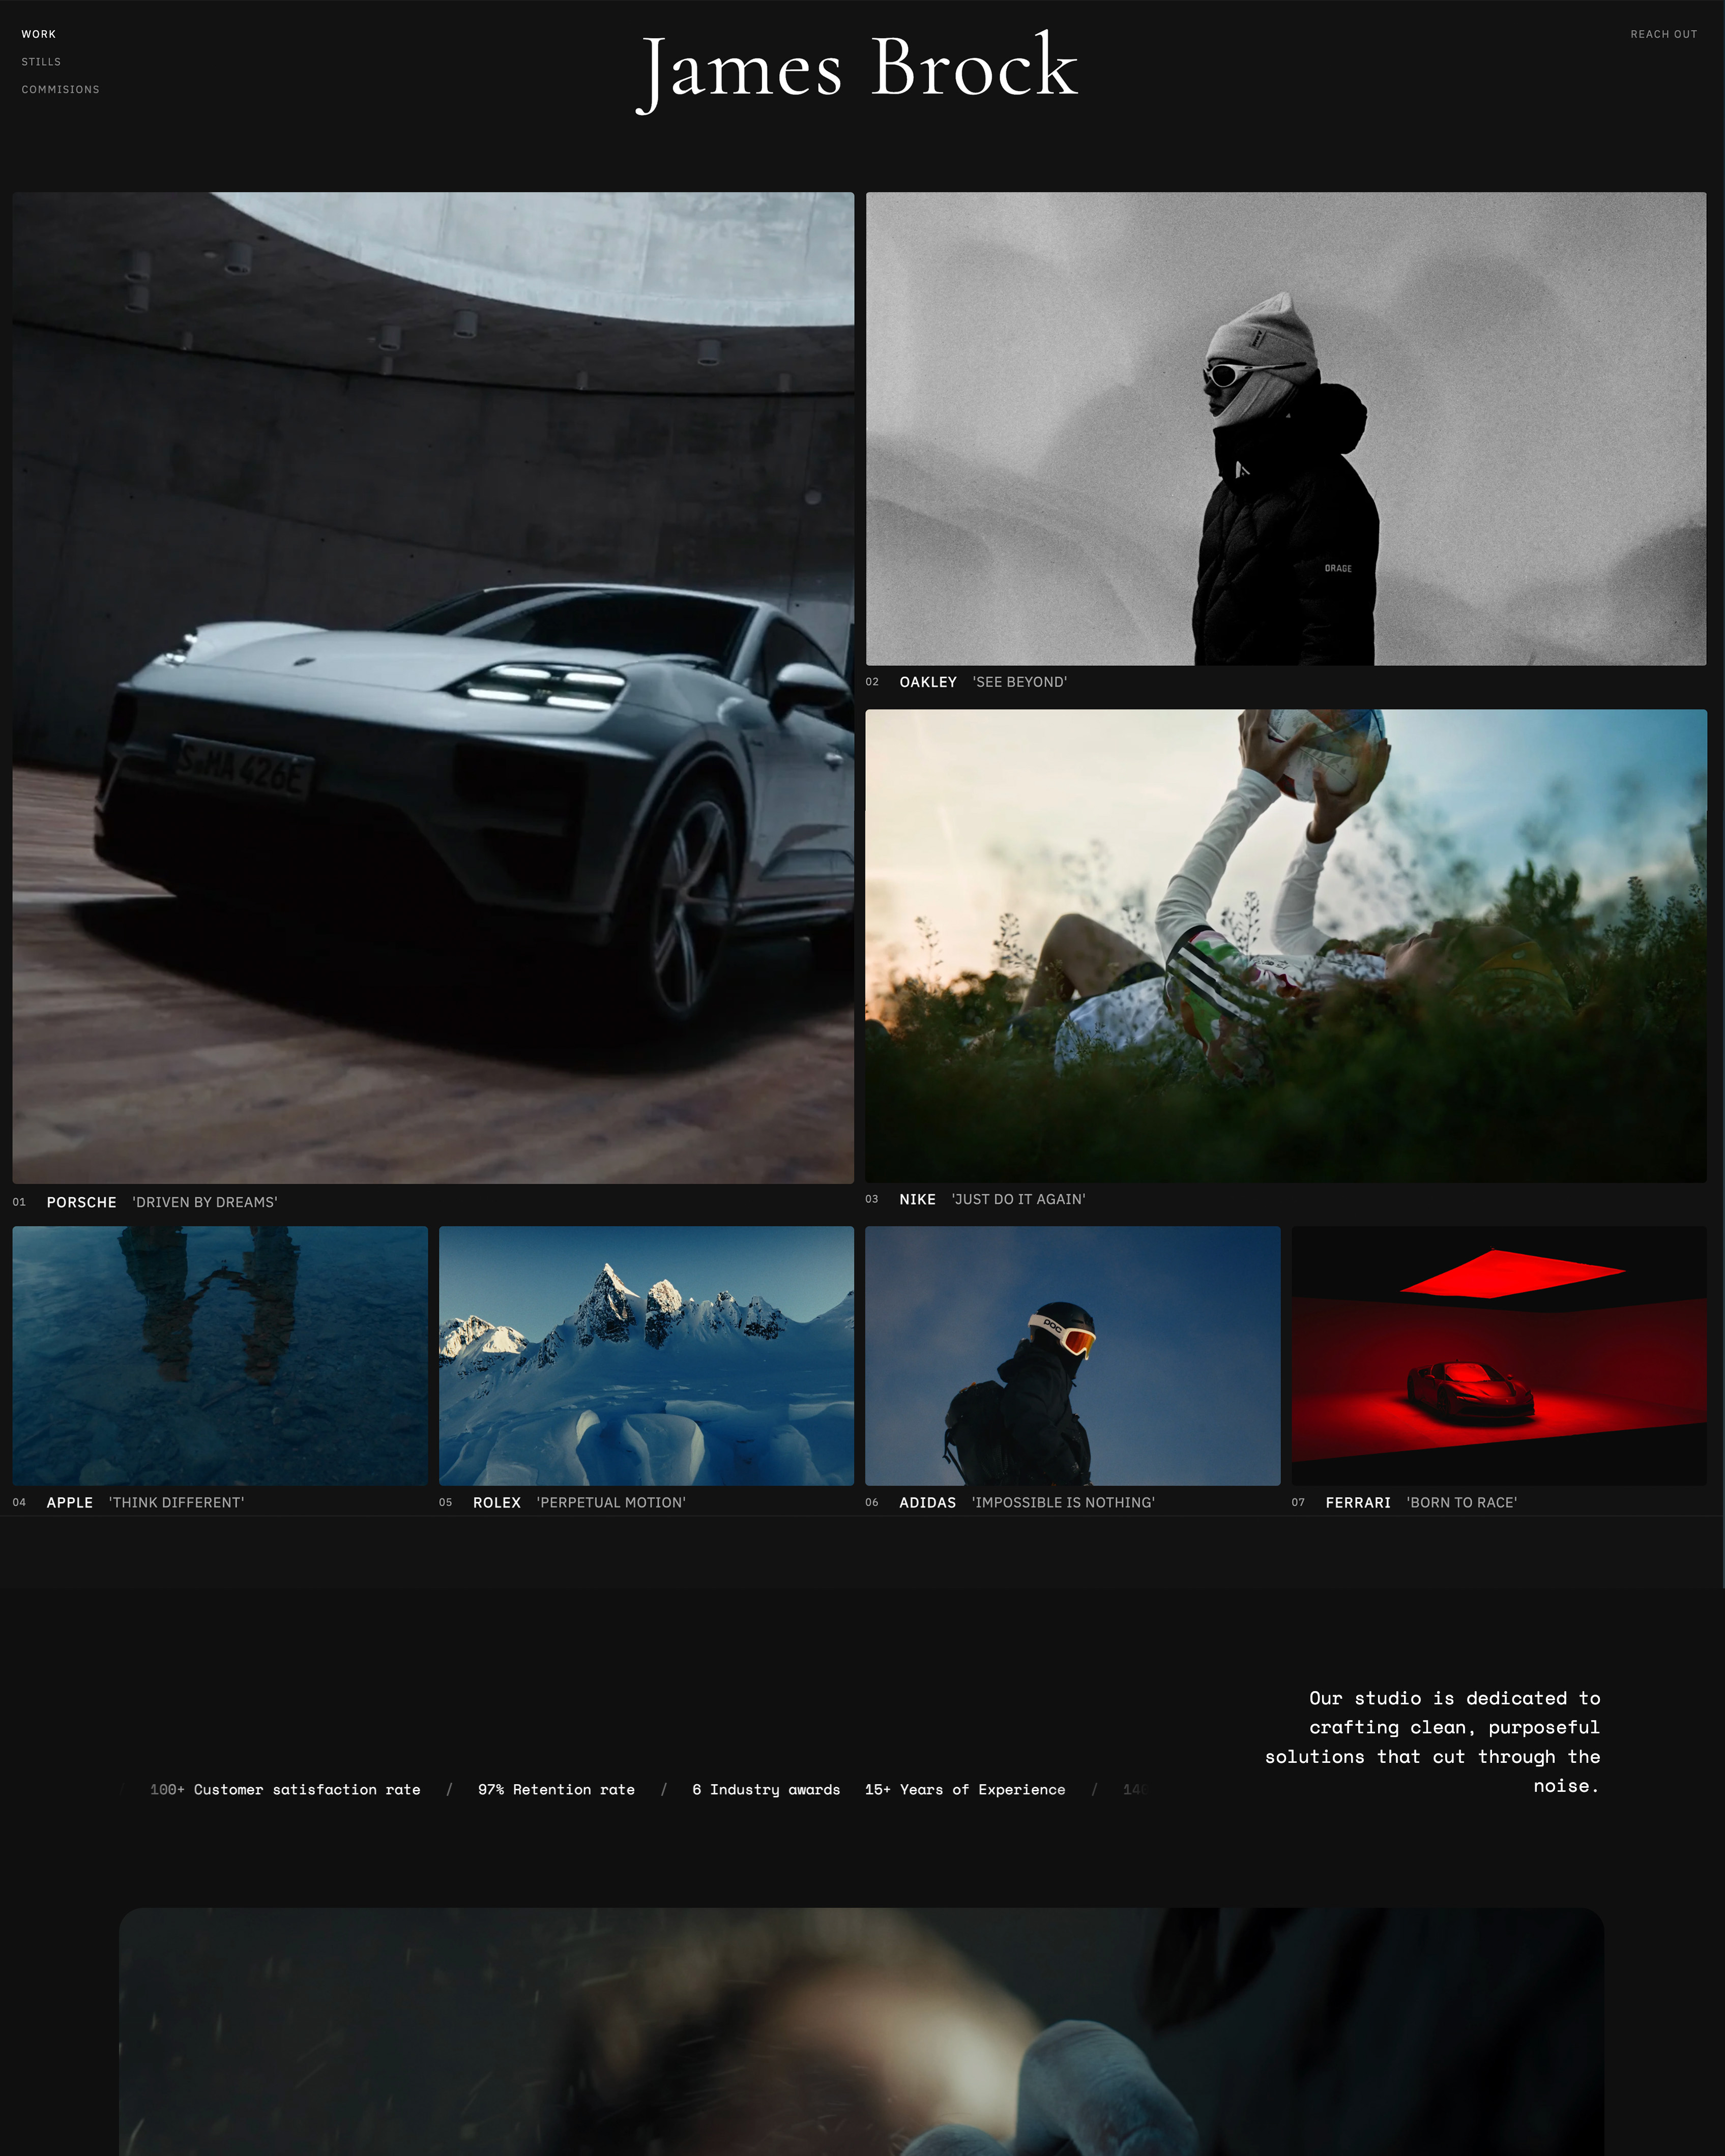
Whichever route, focus on a clean, image-first design that puts your photography front and center, since the work is the point and the design should frame it, not compete with it.
In one linebuild with an image-first, uncluttered design that frames your photography rather than competing with it, because a clean site makes the work the hero, loads fast, and reads professional, whereas a busy, over-designed one distracts from the images clients came to see.
Keep the design restrained regardless of route. Photography sites work best with generous whitespace, large images, minimal text, and a simple navigation - the design serves the work, not the other way round.
Choose readable fonts, a restrained color palette that does not fight your images, and a mobile-friendly layout, since many visitors arrive on phones.
An AI builder handles most of this for you; a template or custom build requires you to hold the line against clutter. The goal is a site a visitor experiences as your photography, cleanly presented, not as a design showcase around it.
Step 5: Connect Your Domain and Set Up Galleries and a Store
A professional site needs your own domain and, for a working photographer, galleries and a store.
Connect a custom domain - yourname.com - because a free subdomain with the builder's name signals amateur while your own domain signals a business.
Then set up client galleries to deliver shoots and a store to sell prints or digital products, if your build route includes them.
For our example photographer, this turns the portfolio into a working business tool: a site that shows the work, delivers to clients, and sells.
In one lineconnect your own custom domain and add client galleries and a store, because a custom domain makes you look professional and built-in galleries and a store turn the website from a passive portfolio into a working business tool that delivers and sells.
This step is what separates a photography website from a mere portfolio. A custom domain, often free the first year on an annual plan and about $12 to $15 a year after, is non-negotiable for looking professional.
Client galleries let you deliver shoots under your brand from the same site, and a store lets you sell directly.
Platforms like Framekit include galleries and a digital-download store built in, so this is a setting rather than a separate tool; Framekit's store does not sell prints, so print sales need a gallery service with lab fulfilment or a store that ships, and with some routes you add a gallery tool separately.
Set these up so your site works for your business, not just displays images. Our how much a photography website costs guide breaks down the domain and plan costs.
Step 6: Launch, and Get Found
Building the site is not the finish - launching it and getting found is. Before launch, check the site on mobile, test your contact form, and proofread.
Then publish, and set up basic SEO so people searching find you: a clear page title and description, your location and genres in the text, and your site submitted to Google.
Finally, put the link everywhere - your social profiles, email signature, and business cards - because a site nobody can find books no one.
In one linelaunch is the start, not the end - test the site on mobile, set up basic SEO with your location and genres so you get found on Google, and share the link everywhere, because the best photography website books no clients if nobody can find it.
Getting found is where many photographers stop too early.
Basic SEO - a descriptive page title, your city and specialties in the copy, image alt text, and submission to Google - helps people searching for a photographer in your area find you.
Sharing the link across your social profiles, email signature, and to past clients drives the first visitors.
And keeping the site current, adding recent work and the occasional blog post, signals to both visitors and search engines that you are active.
A launched, findable, current site is a marketing engine; a beautiful site nobody visits is a private gallery. Our best photography business tools guide covers the marketing side.
How to Choose Your Build Route: A Decision Tree
Match the route to your skills, time, and how much you want done for you.
How much do you want to do yourself?
- Have it built for me, fast, with no design work. Choose an AI website builder like Framekit - it generates the site from your work in hours.
- Enjoy choosing and tweaking a template myself. Choose Squarespace or Wix for hands-on template control over a day or more.
- Want full control and have the technical skills and time. Choose custom WordPress for maximum flexibility.
What does your site need to do?
- Portfolio plus client galleries and a store in one. An AI builder like Framekit includes them, or a platform that bundles galleries.
- Just a portfolio for now. Any route works; keep it simple and add galleries later.
On a budget or timeline?
- Fastest and free to start: an AI builder's free plan.
- Cheapest if you have the skills: self-built WordPress, trading time for money.
Frequently Asked Questions
How do I build a photography website?
Build a photography website in six steps: plan your pages (portfolio, about, contact, galleries, store), choose a build route, curate your strongest work, build the site with a clean image-first design, connect your own domain and set up galleries and a store, then launch and set up basic SEO to get found.
The fastest route is an AI website builder like Framekit that generates the site from your work, needing no code or design skill. A template builder or custom WordPress are alternatives for those wanting more hands-on control.
Most photographers can have a professional site live in a weekend.
What is the best way to build a photography website?
The best way depends on your skills and how much you want done for you. For most photographers who want a professional site fast without design work, an AI website builder like Framekit is best, generating the site from your work in hours.
Photographers who enjoy hands-on design may prefer a template builder like Squarespace, and skilled DIYers wanting full control may choose custom WordPress.
There is no single best way for everyone, but the AI route is fastest and easiest, the template route offers more manual control, and WordPress offers the most control for the most effort.
How much does it cost to build a photography website?
It ranges from $0 to a few hundred dollars a year.
You can start free on an AI builder or template builder's free plan, then pay roughly $9 to $30 a month for a professional plan with your own domain, galleries, and a store, plus about $12 to $15 a year for the domain after any free first year.
Self-built WordPress can be cheaper if you have the skills, around $70 a year for hosting and a domain, or more with premium themes and plugins. Hiring a designer adds a one-time cost of hundreds or thousands.
Our guide to photography website costs breaks this down fully.
Do I need coding skills to build a photography website?
No, not in 2026. AI website builders like Framekit and template builders like Squarespace and Wix require no coding - the AI builds the site for you, or you customize a template visually.
Only the custom WordPress route benefits from technical skill, and even that can be done with page builders, though it is more involved.
For the vast majority of photographers, building a professional website is now a no-code task done through a visual builder or AI, so a lack of coding ability is no barrier to a professional site.
What pages should a photography website have?
The essential pages are a portfolio to show your work, an about page to build trust and tell your story, and a contact page to capture inquiries.
For a working photographer, add client galleries to deliver shoots and a store to sell prints or digital products. Some photographers also add a services or pricing page, a blog for SEO, and testimonials.
Keep the structure lean - every page should do a job, guiding visitors from admiring your work to booking you. Start with portfolio, about, and contact, and add galleries and a store as your business needs them.
How long does it take to build a photography website?
With an AI website builder, a photography website can be built in hours - you provide your work and the AI generates a designed site you refine.
A template builder typically takes a day or more as you customize the layout and content yourself. A custom WordPress build takes days or longer depending on complexity and your skill.
For most photographers, a professional site is a weekend project at most using an AI or template builder, with the actual building fast and the time mostly spent curating which work to show and writing the copy.
Can I build a photography website with AI?
Yes, AI website builders like Framekit build a photography website for you: you provide your work and preferences, and the AI generates a designed, professional site - portfolio, pages, and often galleries and a store - that you refine, with no coding or design skill required.
This is the fastest way to build a site and needs the least effort, since the AI handles the design and layout. It suits photographers who want a professional website without doing the design work themselves.
You still curate your best work and write your story, but the AI does the building.
Squarespace vs WordPress for a photography website?
Squarespace is easier and faster - a template builder needing no code, with hosting and design included, best for photographers who want a polished site with moderate effort.
WordPress is more powerful and flexible but requires technical skill, separate hosting, and more setup, best for skilled DIYers wanting full control and the lowest ongoing cost.
Squarespace suits most photographers who value ease; WordPress suits those with the technical ability and time who want maximum control. An AI builder like Framekit is a third option, faster than both by building the site for you.
Choose by your skills and how much control you want.
How do I add client galleries to my photography website?
The easiest way is a platform that includes galleries, like Framekit, where client galleries are built into the same site as a setting, so you deliver shoots under your brand without a separate tool.
Alternatively, you can use a dedicated gallery platform like Pixieset and link it from your site, though that puts galleries on a separate subdomain.
For a working photographer, a website with built-in galleries keeps delivery on your own domain and brand; on Framekit the own domain starts on Starter, and a small Made with Framekit line stays in the gallery footer on every plan.
Set up galleries when building the site if your platform includes them, or add a gallery tool and link it if not.
How do I sell prints from my photography website?
Use a gallery platform with print-lab fulfilment, such as Pixieset, or a website store that ships physical products, such as Squarespace's.
Framekit's built-in store sells digital downloads only, such as presets and guides, so it does not handle prints. Set up the store when building the site, add your products and prices, and connect payment.
Selling from your own site keeps the margin and the customer, unlike a marketplace. For prints specifically, a store with print-lab fulfilment drop-ships to the client; for digital products, the store delivers the file automatically.
How do I get my photography website found on Google?
Set up basic SEO: a clear, descriptive page title and meta description including your location and specialties, your city and genres mentioned in the page text, alt text on images, and your site submitted to Google Search Console.
A fast, mobile-friendly site helps, as does keeping it current with recent work and the occasional blog post targeting what clients search for, like your city plus your genre.
Local SEO matters most for photographers, so make your location and services clear. Getting found takes some ongoing effort beyond launch, but basic on-page SEO and local relevance go a long way for a photographer.
Do I need my own domain for a photography website?
Yes, a custom domain - yourname.com - is important for looking professional, because a free subdomain with the builder's name in the URL signals amateur while your own domain signals a business.
Most website builders include a free custom domain for the first year on an annual plan, after which it renews for about $12 to $15 a year, so it is a small, worthwhile cost. Connect your domain when setting up the site.
It also means that if you ever change platforms, your web address stays yours. The domain is the last place to cut corners on a professional photography website.
How many photos should I put on my photography website?
Fewer than you think - curate to your strongest work. A portfolio of 20 to 40 exceptional images makes a stronger, faster-loading impression than 200 mixed ones, because visitors judge you on your weakest displayed photo.
Show only the work you want to book more of, grouped by genre, so a visitor sees your best immediately.
Client galleries, which hold full shoots, are separate from the portfolio and can be large, but the public portfolio should be tight and curated.
Quality and curation beat quantity: a lean portfolio of standout images sells you far better than a comprehensive archive.
What is the easiest way to build a photography website?
The easiest way is an AI website builder like Framekit, which builds the site for you from your work - you provide your images and preferences, and it generates a designed, professional site with no coding or design skill required.
This removes the two hardest parts for most photographers: the design and the technical setup. You curate your best work and write your story, and the AI handles the rest.
Template builders like Squarespace are also relatively easy but require you to do the layout yourself. For the least effort and fastest professional result, the AI route is the easiest.
Final Verdict: Building Your Photography Website
A photography website is your storefront and the thing that turns a referral into a booking, and in 2026 building one is a weekend of clear steps, not a coding project - plan your pages, choose a route, curate ruthlessly, build clean, add your domain and galleries, and launch findable.
The fastest route for most photographers is an AI website builder, and Framekit builds your portfolio, galleries, and digital-download store from your work with no design or code, on a domain you own from its Starter plan.
For a photographer who wants a professional site without the design work, it is the easiest path.
Who should choose differently: a skilled DIYer who wants full control and has the time is well served by custom WordPress, and a photographer who enjoys hands-on design may prefer a template builder like Squarespace.
The best route matches your skills and how much you want done for you.
Plan the pages, curate your best work, build clean on the route that fits you, connect your own domain with galleries and a store, and launch a findable site - and your photography website will turn visitors into booked clients.
For more, read our best website builders for photographers comparison, our guide to how much a photography website costs, our walkthrough of how to start a photography business, and the best photography business tools overview.
_Website-building tool details re-verified against each platform's information, July 2026._
Builder pricing was checked against Squarespace pricing and Format's published plans.
Once the site is live, the follow-up work is getting found: how to SEO a photography website covers the query grid, the pages, and the local signals that matter most.