You already have the reel. You have project stills. What you do not have is a filmmaker website that presents all of it in one place and makes it easy for a producer to say yes. You are in the same spot most filmmakers hit: you open a builder, see dozens of template decisions, then postpone the whole thing again.
This guide shows you exactly how to build a filmmaker website that books clients, step by step, in a single day. You will finish with a live homepage, portfolio, about page, and contact page that work on mobile and desktop. There is also one homepage mistake most filmmakers make that quietly costs inquiries, and we fix it in Step 2, before you publish.
We use Framekit throughout because it removes the hard part: turning your creative direction into a high-quality layout without code or design busywork. Its AI is trained by senior designers, so your first draft already has real hierarchy, spacing, and type instead of a generic business-page skeleton.
A filmmaker website is the site that hosts your reel, your projects, and the way clients reach you. It is the one place a producer can judge your work and book you, on a domain you own.
Quick Answer: To build a filmmaker website that books clients in 2026, generate a four-page site (homepage with the reel above the fold, curated projects, client-focused about, frictionless contact) in Framekit, set one clear positioning line, test your contact form, then optimize page speed and SEO before publishing, which is a realistic one-day build. Start free at https://framekit.ai.
What Will You Have at the End of This Guide?
By the end of this tutorial, your filmmaker website will be live with four essential pages: a homepage with your reel above the fold, a curated project portfolio, an about page that speaks to clients, and a contact page that captures inquiries without friction. Your site will look professional on both desktop and mobile, load quickly, and include core SEO setup so Google can index it properly.
You will not need a developer, a designer, or a week of trial and error. If your assets are ready, this is realistically a single-day build from blank dashboard to published site. There is also one contact-form setting many filmmakers miss; you will handle it in Step 5 so inquiries never disappear.
Here is the seven-step path this guide walks you through, with a realistic time estimate for each:
| Step | What you build | Time | Why it matters |
|---|---|---|---|
| 1 | Site setup + positioning | 20 min | Stops design and copy from drifting |
| 2 | Homepage with reel above the fold | 30 min | Decides whether visitors keep watching |
| 3 | Curated projects gallery | 35 min | Shows judgment, not just volume |
| 4 | Client-focused about page | 25 min | Answers the hiring question buyers ask |
| 5 | Contact form that actually delivers | 20 min | Turns interest into paid conversations |
| 6 | Page speed + on-page SEO | 30 min | Gives the site a fair chance to rank |
| 7 | Publish + first-day checklist | 20 min | Gets the site live and shared |
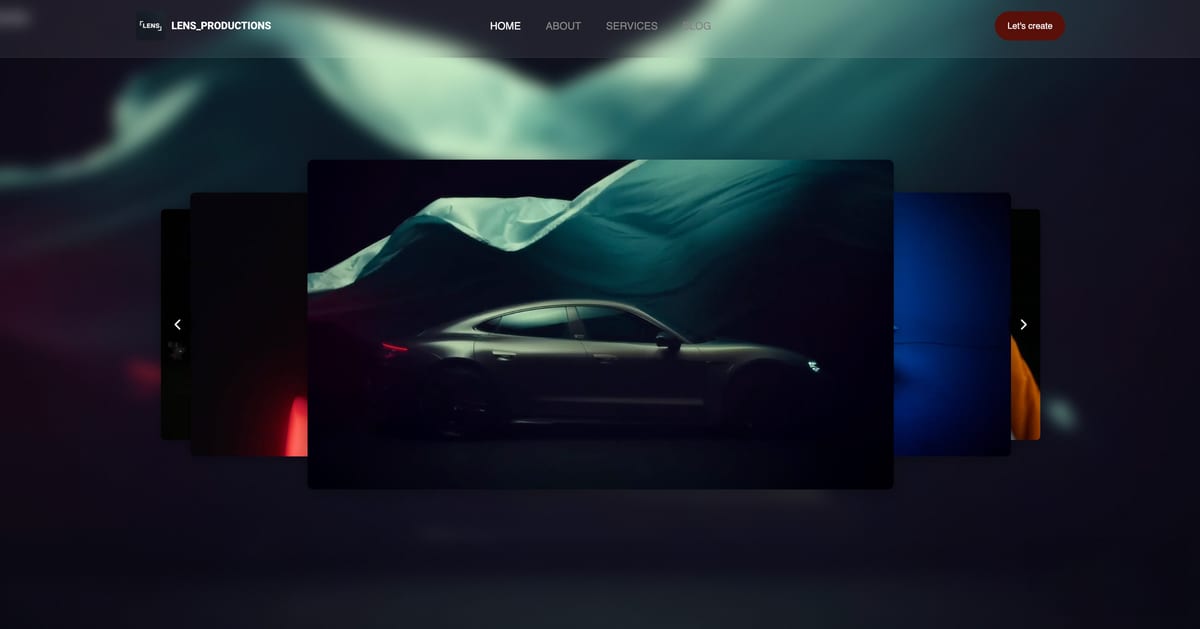
Framekit templates
Start from a designer-made template
 Use template
 Use templateUse template
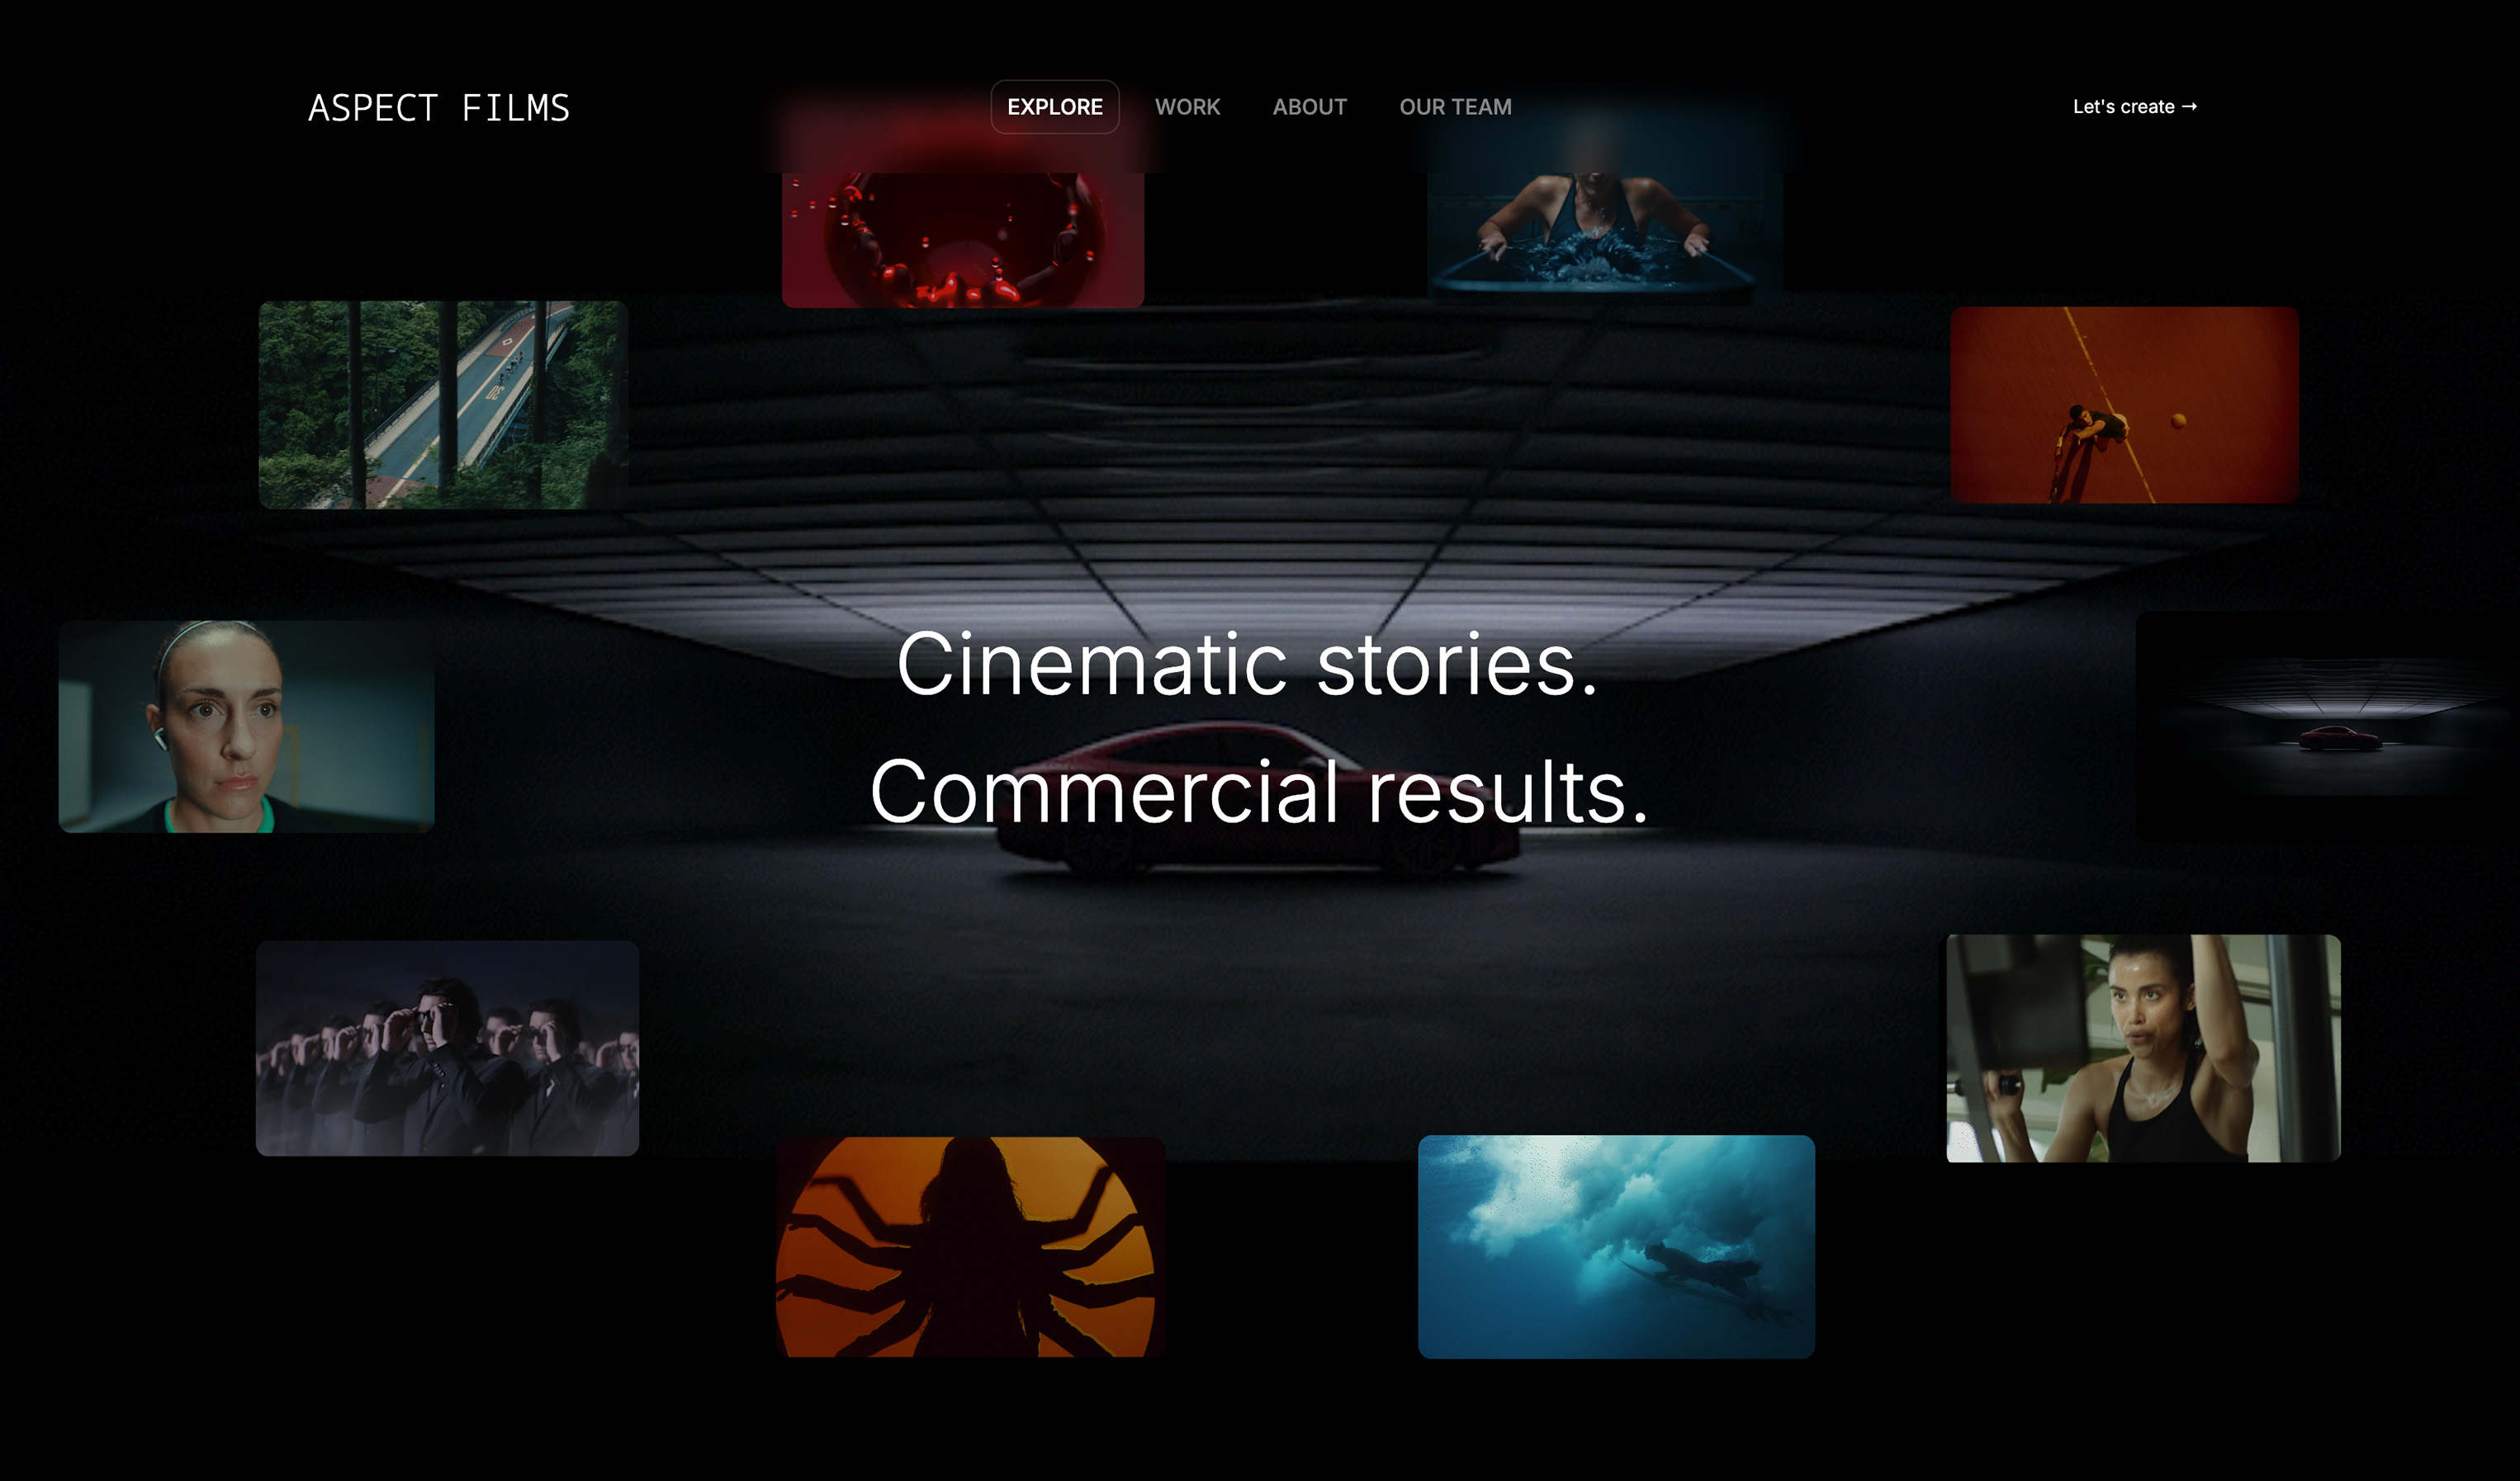 Use template
 Use template
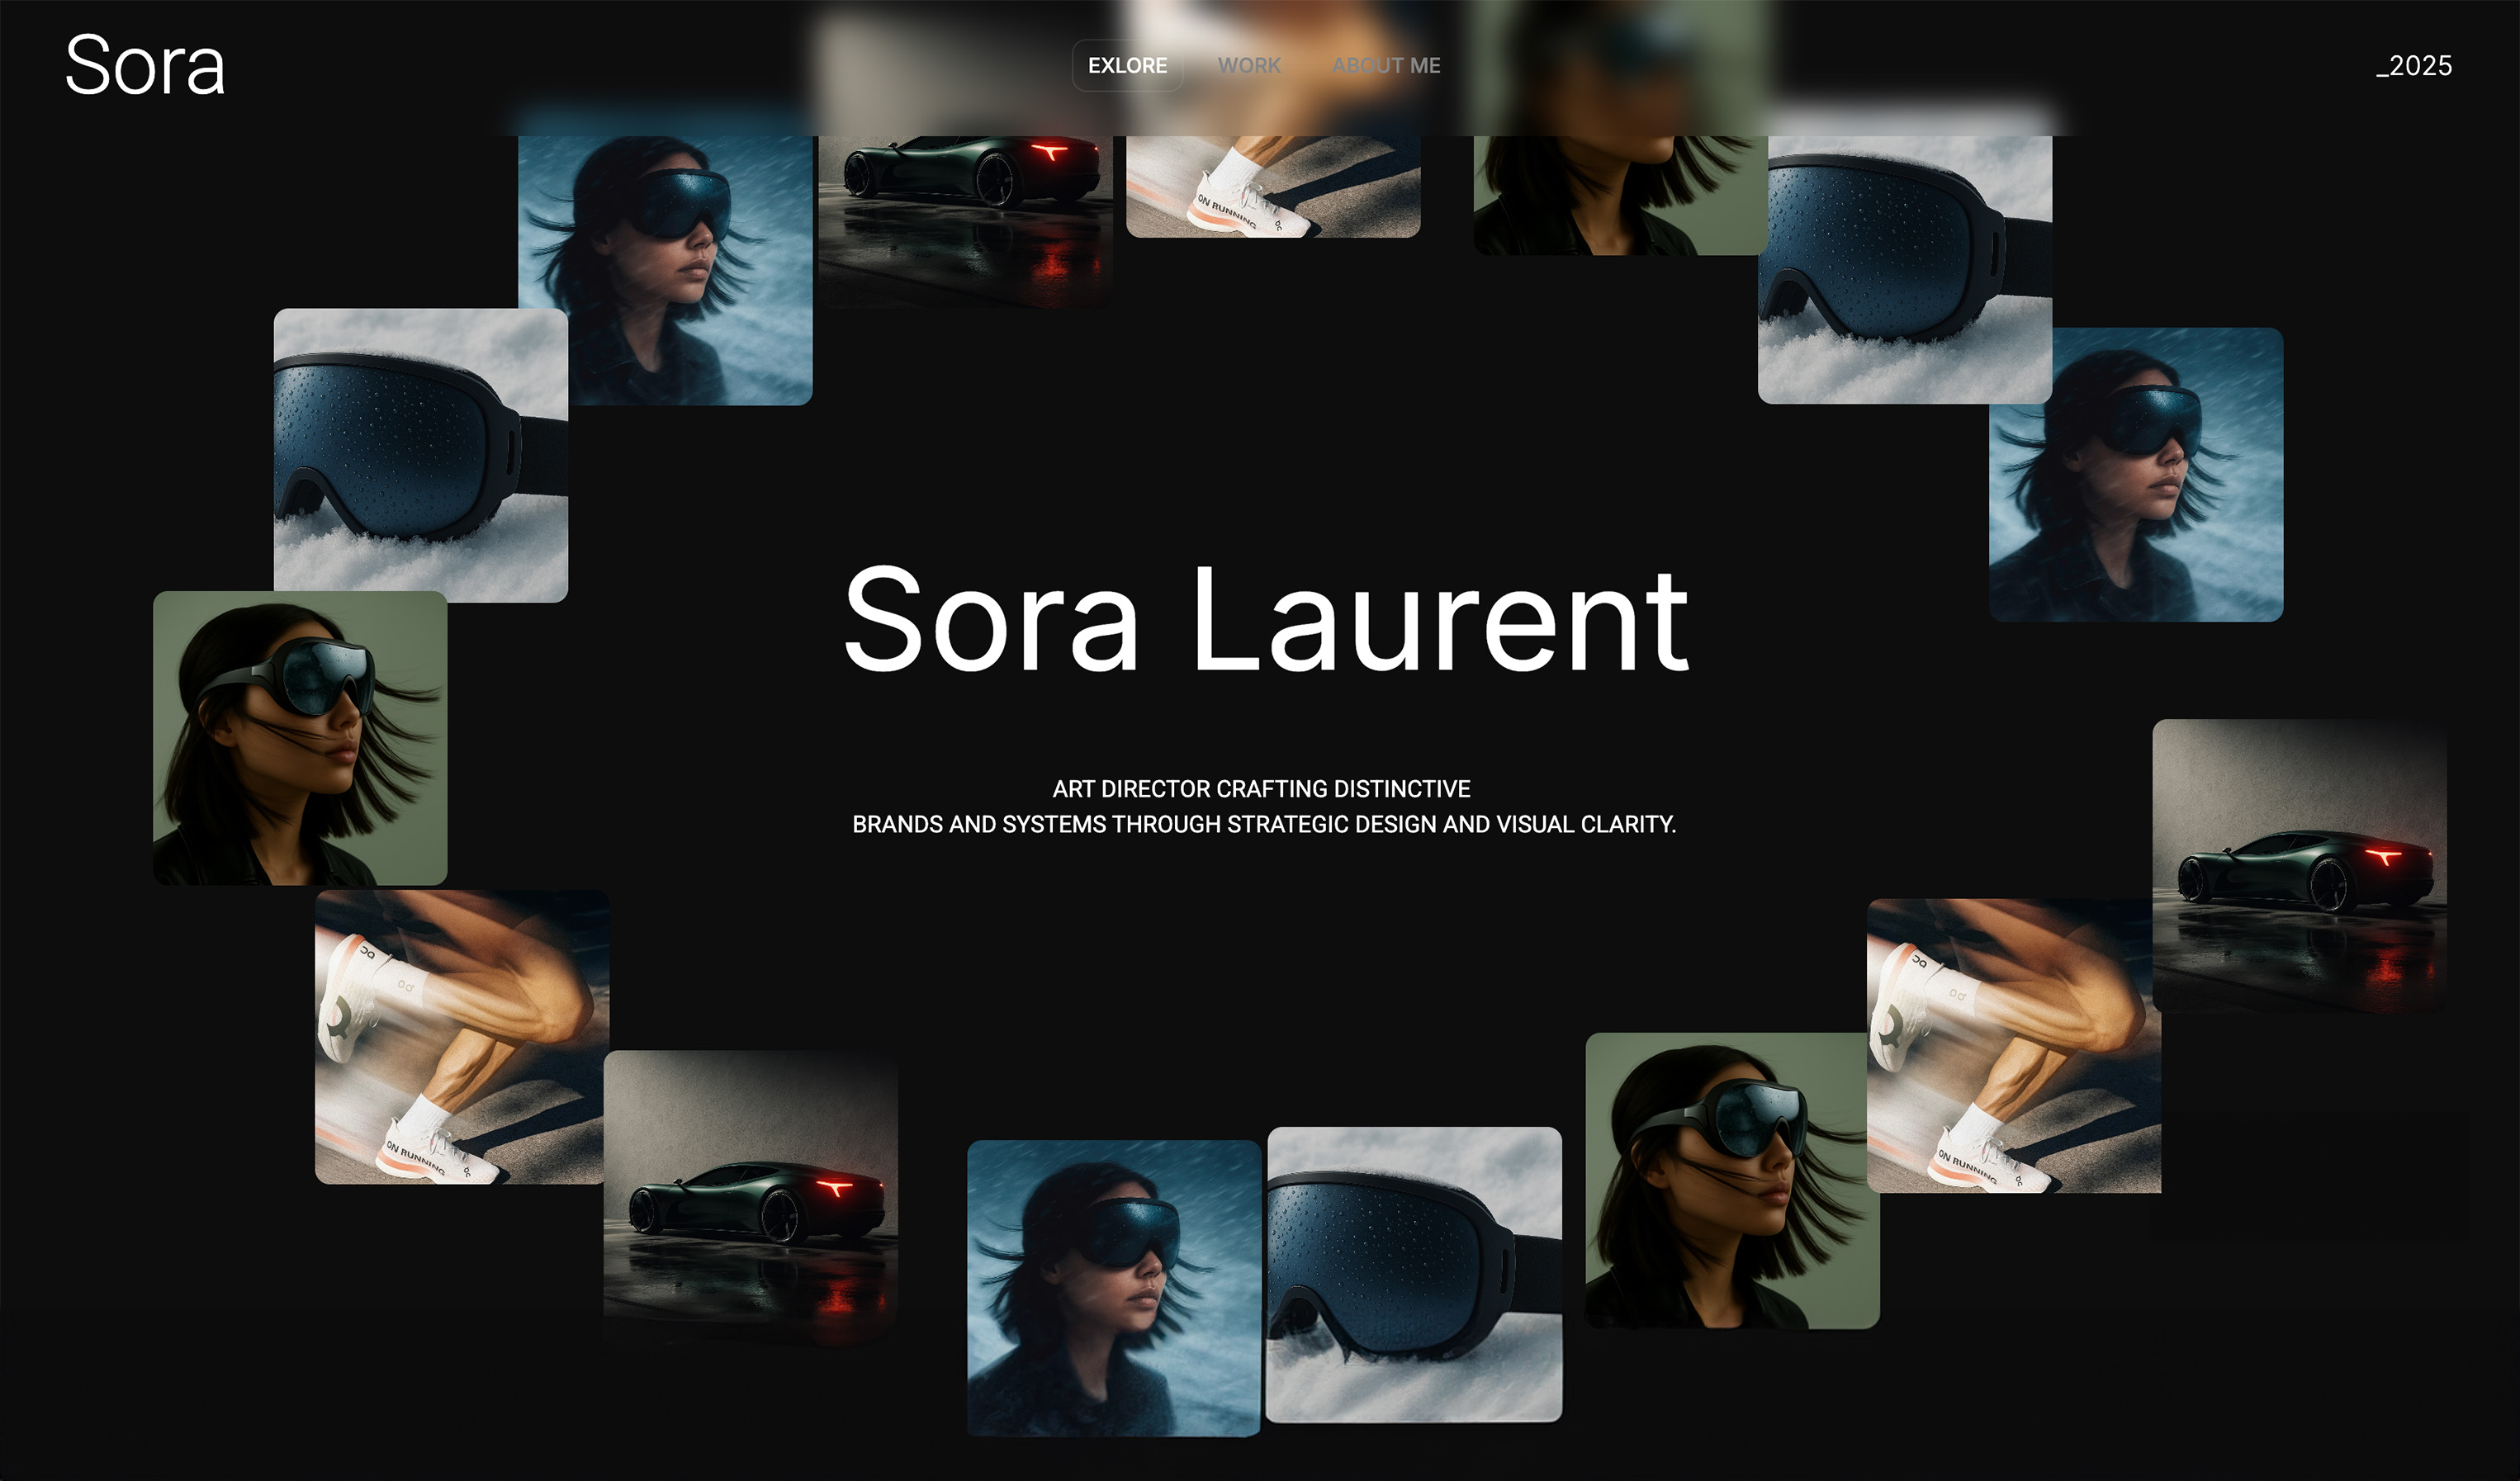 Use template
 Use template
 Use template
Total active build time is roughly three hours of focused work. The rest of a single day covers asset prep, review, and revisions.
What Do You Need Before You Start?
- A free Framekit account at framekit.ai. No credit card required, and the free plan covers everything in this guide.
- One reel link (Vimeo or YouTube) and 8-12 strong project stills exported for web.
- Short text for your positioning: what kind of film work you do, for whom, and where.
- Basic page copy notes for your About and Contact pages.
- Optional but useful: one reference site screenshot from Pinterest, Dribbble, or Instagram for visual direction. Framekit can generate from inspiration images.
- One focused day to build, review, and publish.
That is it. You do not need coding skills, a design background, or a big budget.
If you have not created your free Framekit account yet, do it now - the next step starts inside the dashboard: framekit.ai
Step 1: Start Your Filmmaker Website in Framekit with Clear Positioning
This step gives your site a clear point of view so the design and copy do not drift as you build. You start inside Framekit by creating a site and writing a first AI prompt that names your niche and client type, not just your visual style, then lock a global font, color, and spacing system the rest of the build inherits.
Inside Framekit, create a new site and open the AI chat panel. Your first prompt should describe your niche and client type, not just your style. Most filmmakers write prompts like "cinematic dark portfolio." That creates mood, but not business clarity.
Use this prompt structure instead: "Build a filmmaker website for a director of brand films for DTC and tech companies. Tone is cinematic but clean. Prioritize booking inquiries from producers and founders. Include homepage, projects, about, and contact." You can add your city and whether you take remote projects.
Now paste one short positioning line you already use in proposals. Example: "I direct founder-led brand films that feel human, not corporate." This helps Framekit generate sections that sound like your business.
Before moving on, set your global style once: choose your primary font, accent color, and spacing scale. Framekit applies this system across new sections automatically, which prevents a mismatched look later.
After this step, you have a filmmaker website foundation with clear positioning and a consistent visual system.
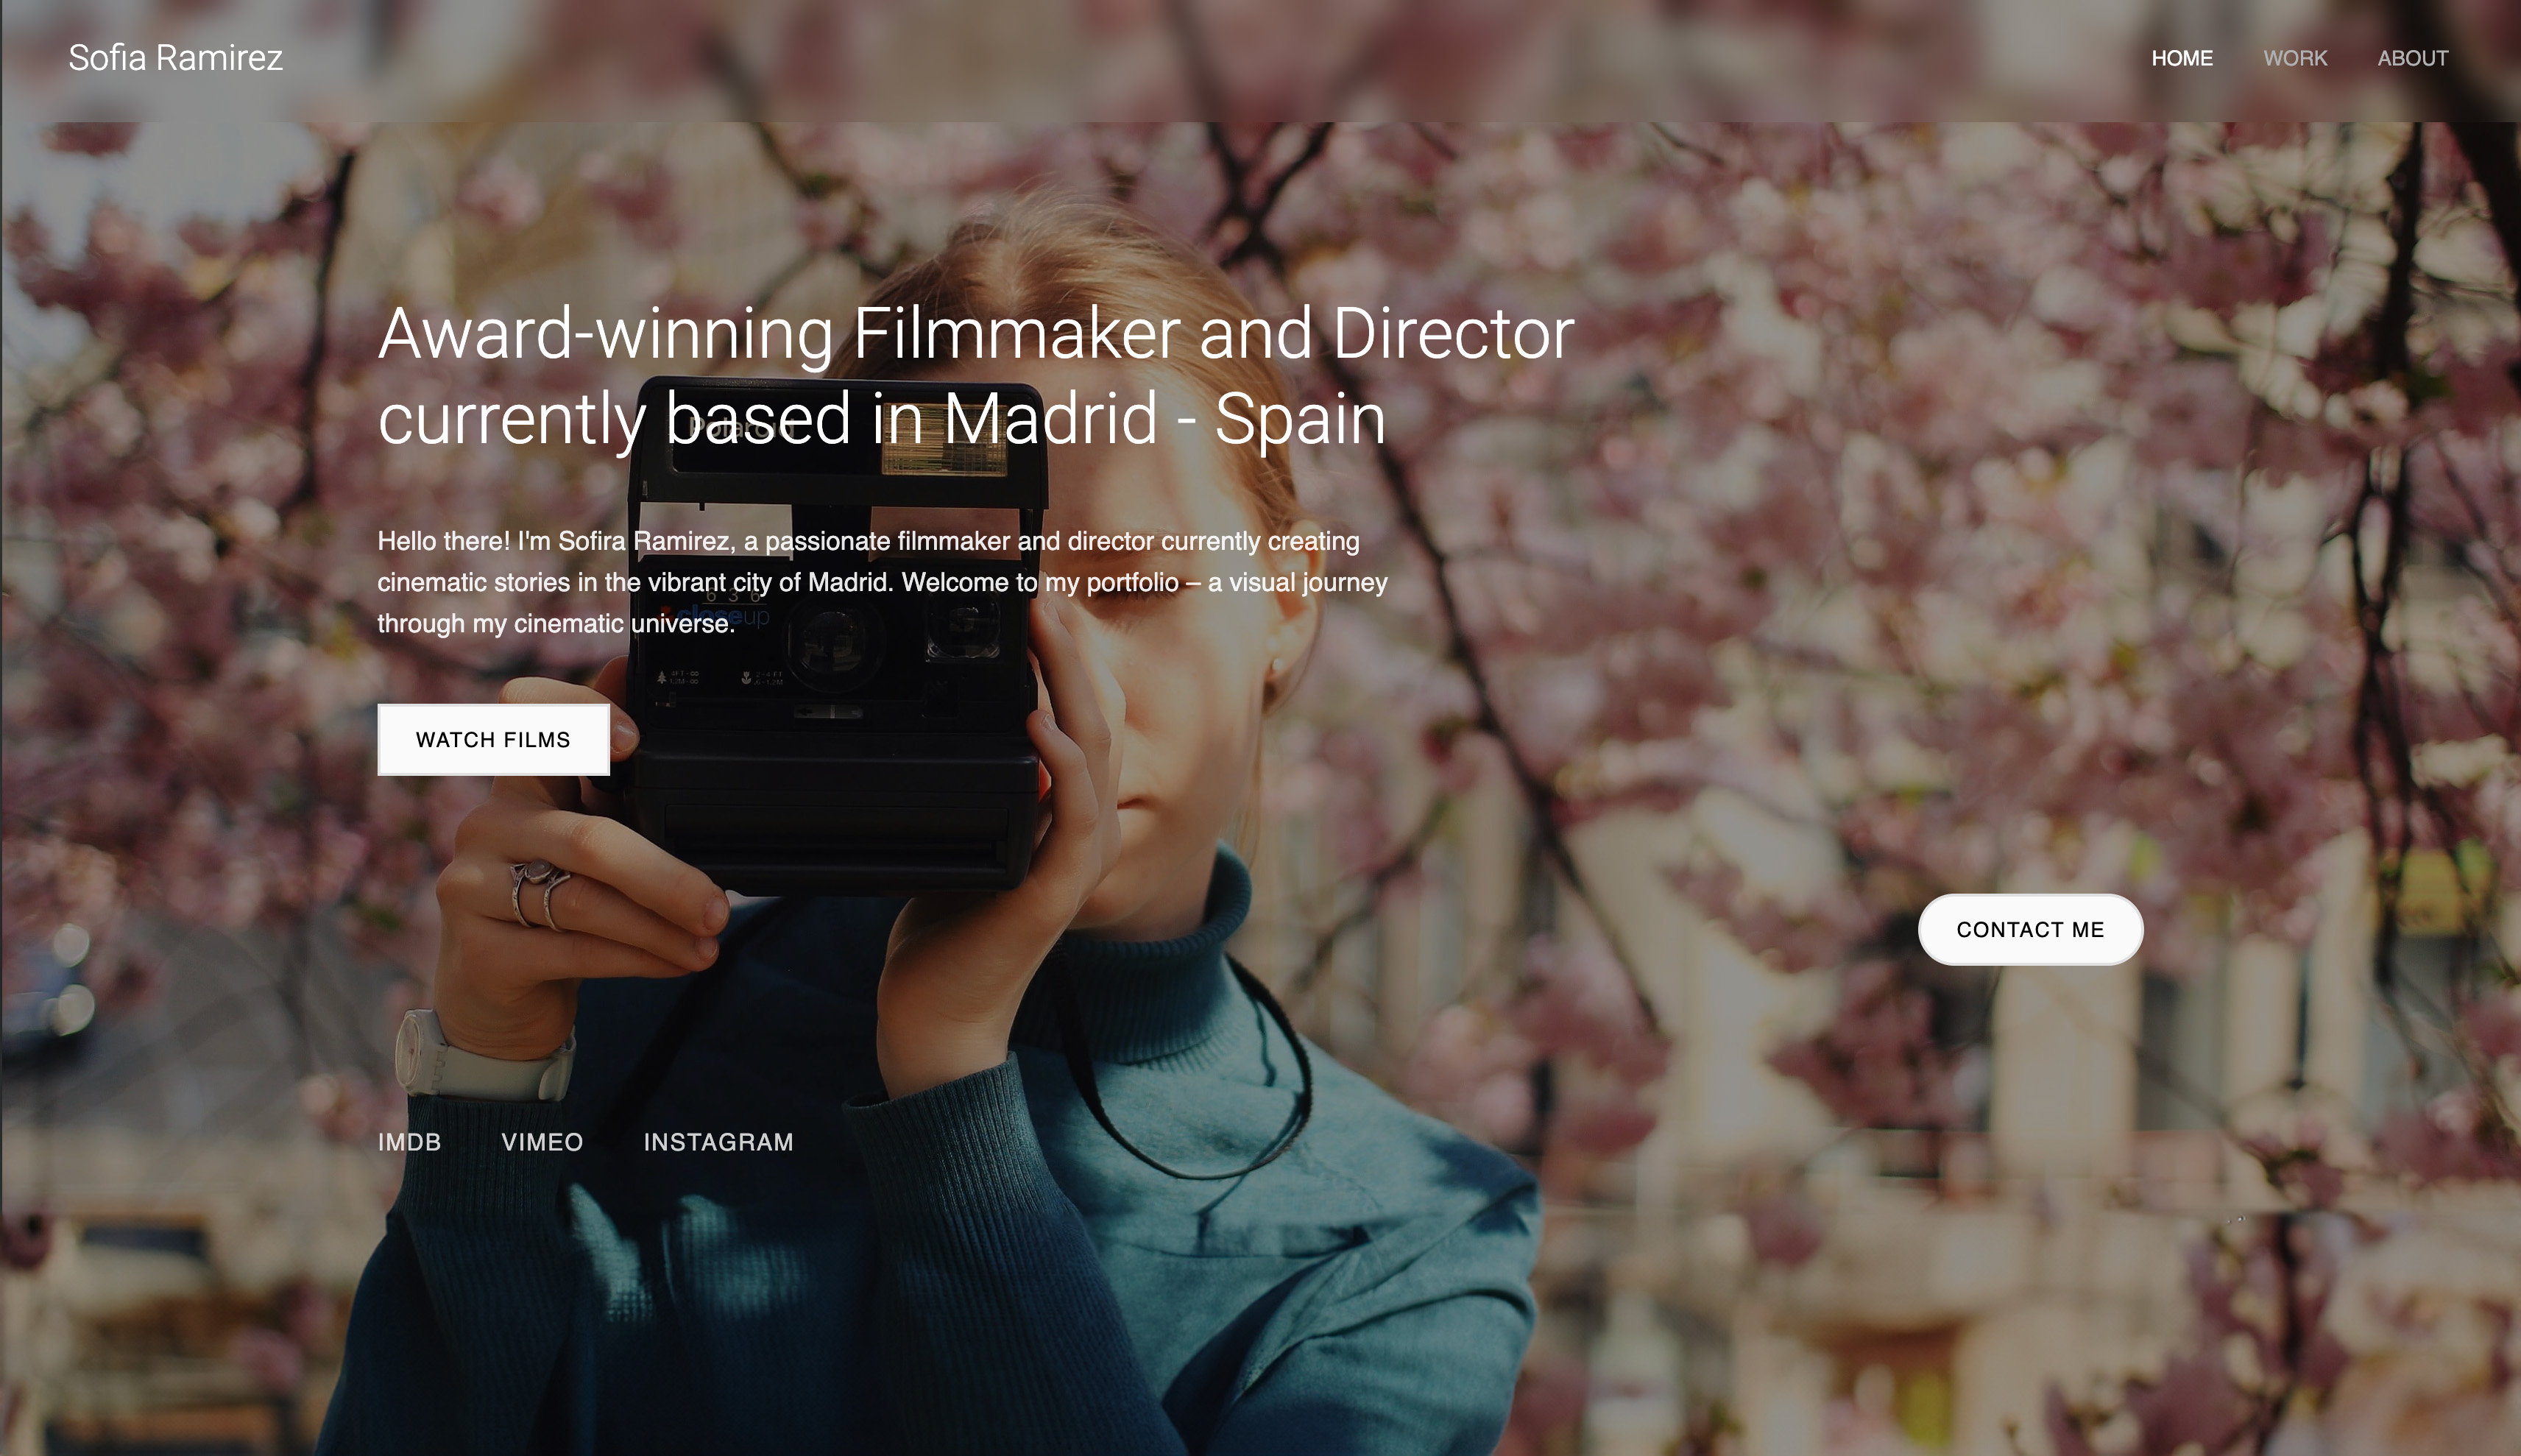
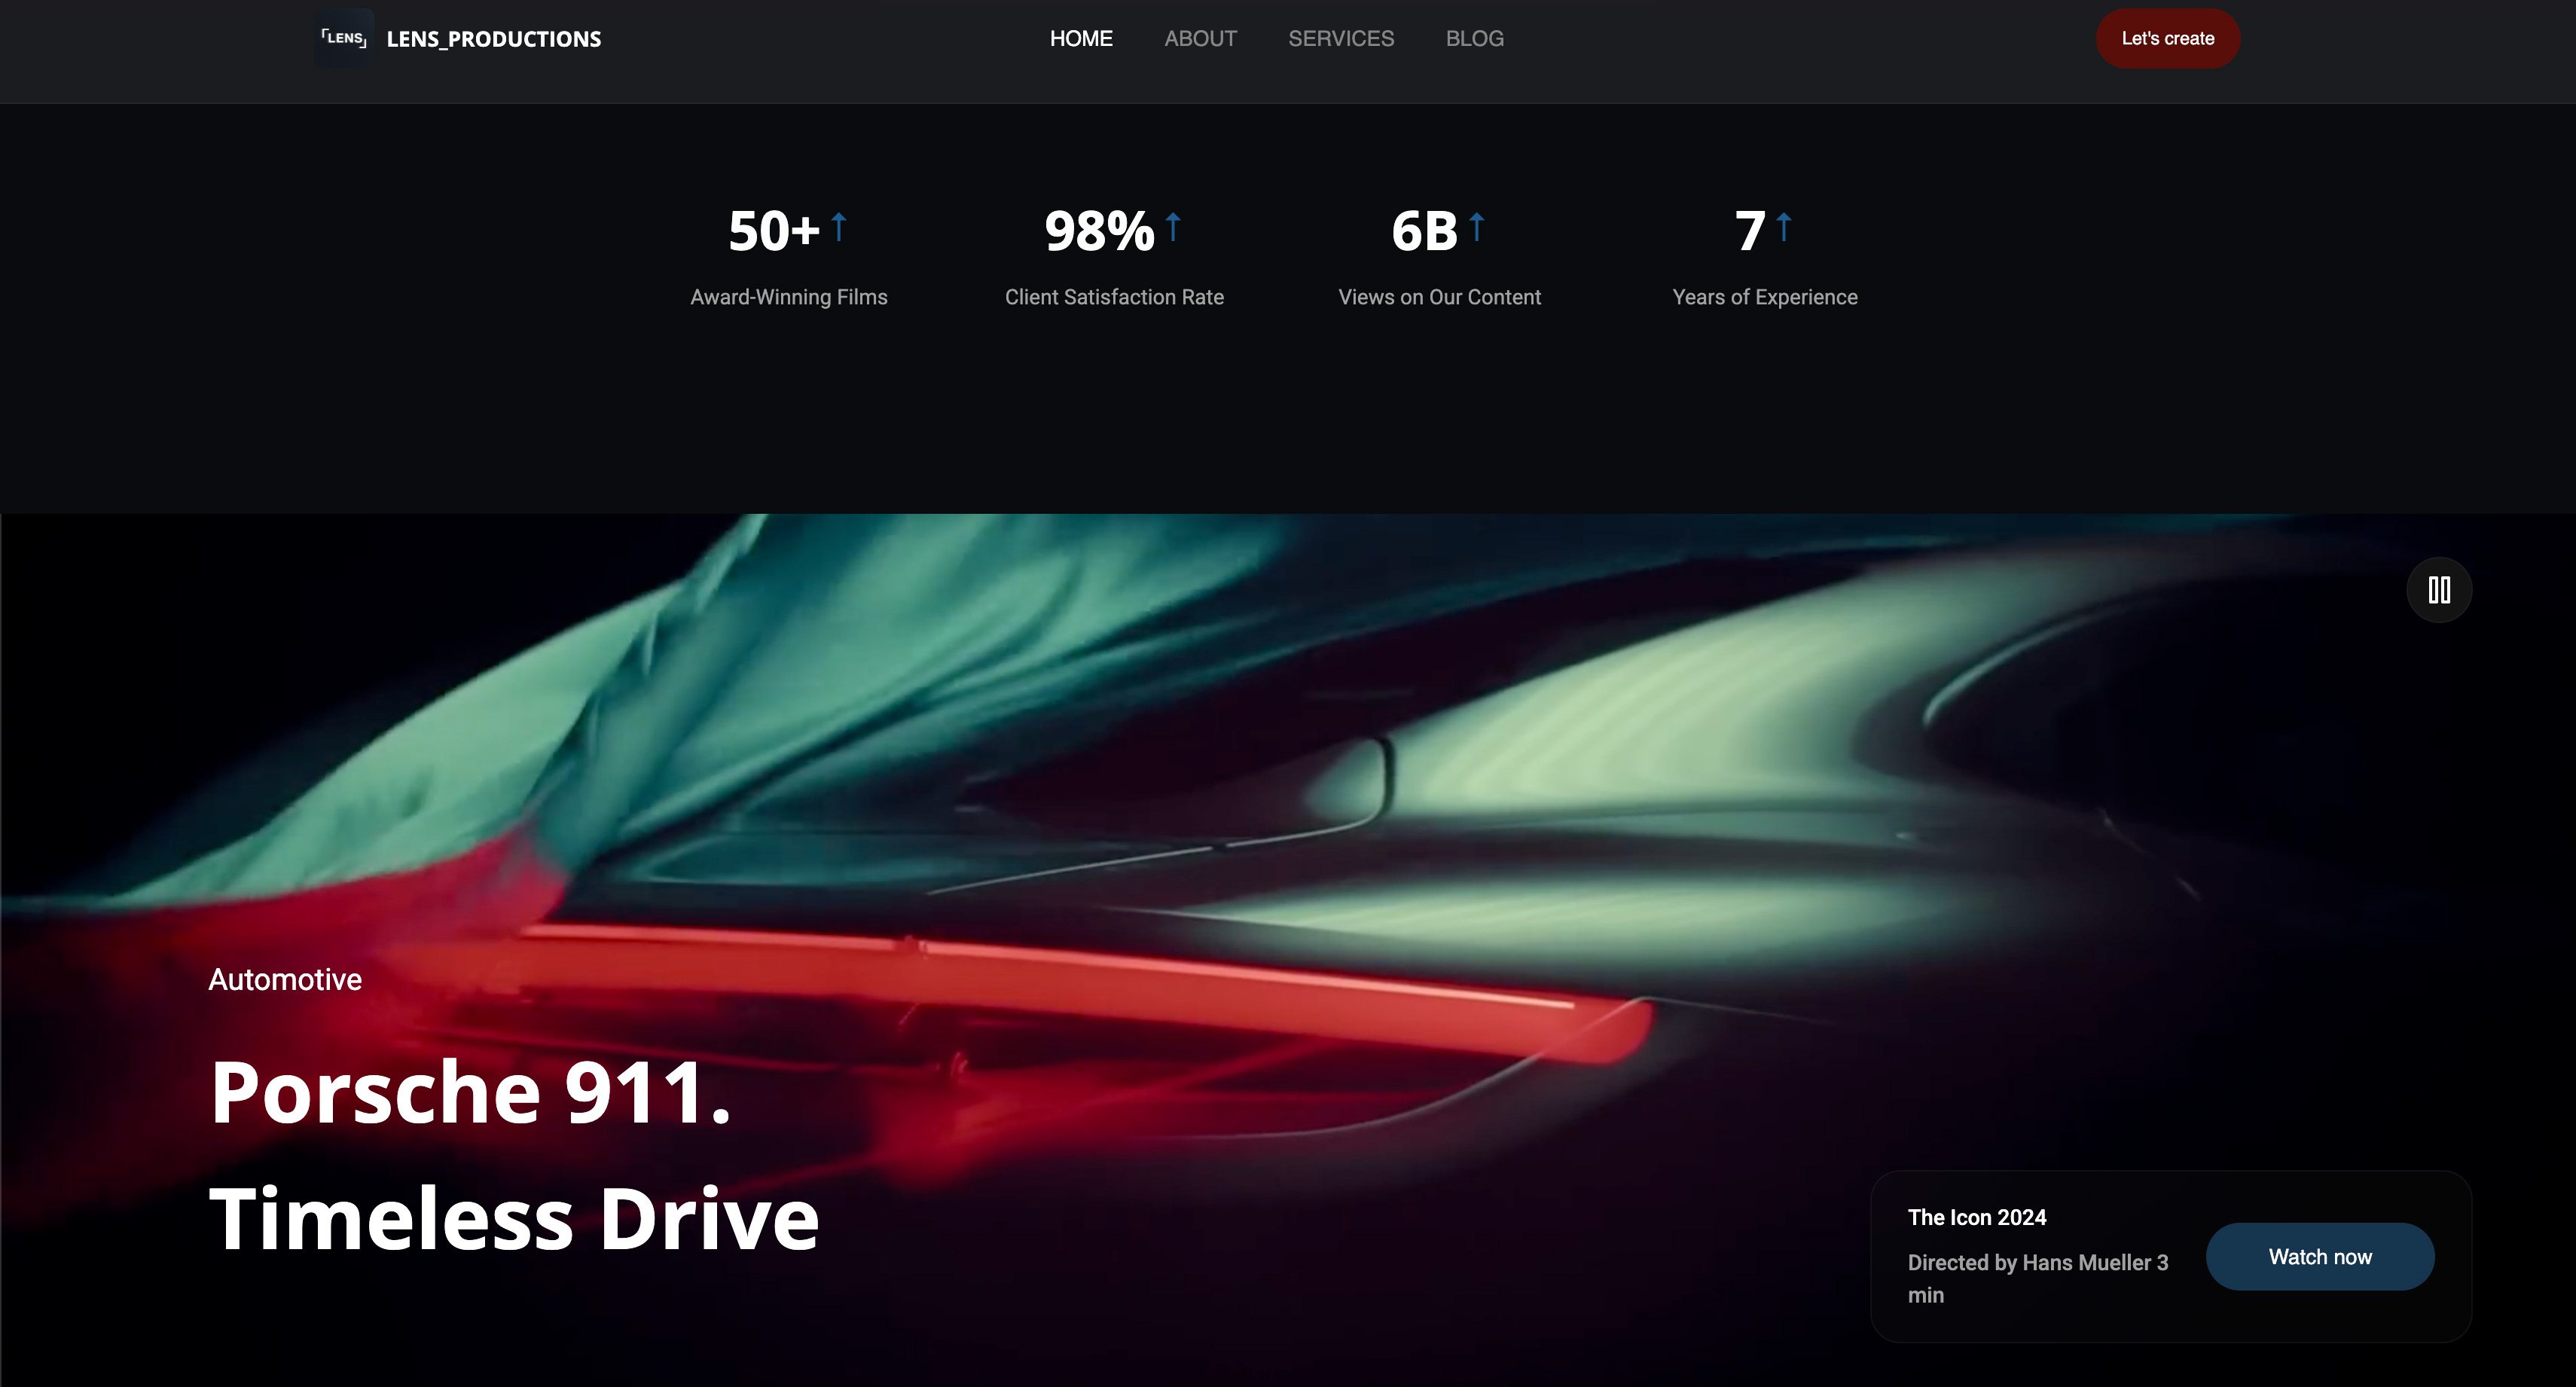
Step 2: Generate a Homepage That Leads with Your Reel
This step creates the page that decides whether visitors keep watching or leave within seconds. You generate the homepage in Framekit, then move your reel above the fold so a producer never has to scroll to find it, and write one outcome-focused headline instead of film-school biography language.
In Framekit AI chat, generate your homepage first, then immediately move your reel section to the top area if it is not already above the fold. Filmmakers often bury the reel under a hero image and a long intro. That is a conversion mistake. If a producer has to scroll to find your reel, many will not.
Ask Framekit for this exact structure: hero with one-sentence positioning, embedded reel, selected client logos, two featured projects, then a short credibility strip with awards or notable work. Keep the top section simple and fast to scan.
Use the inspiration upload feature if you have a reference screenshot. Prompt: "Match this pacing and typography feel, but keep my brand colors and cleaner whitespace."
Write one tight headline for the hero. Skip film-school biography language. A better example: "Brand films that feel cinematic and still sell the product." Visitors care about outcomes first, then story.
After this step, your homepage communicates your value in seconds and puts your reel where clients expect it.
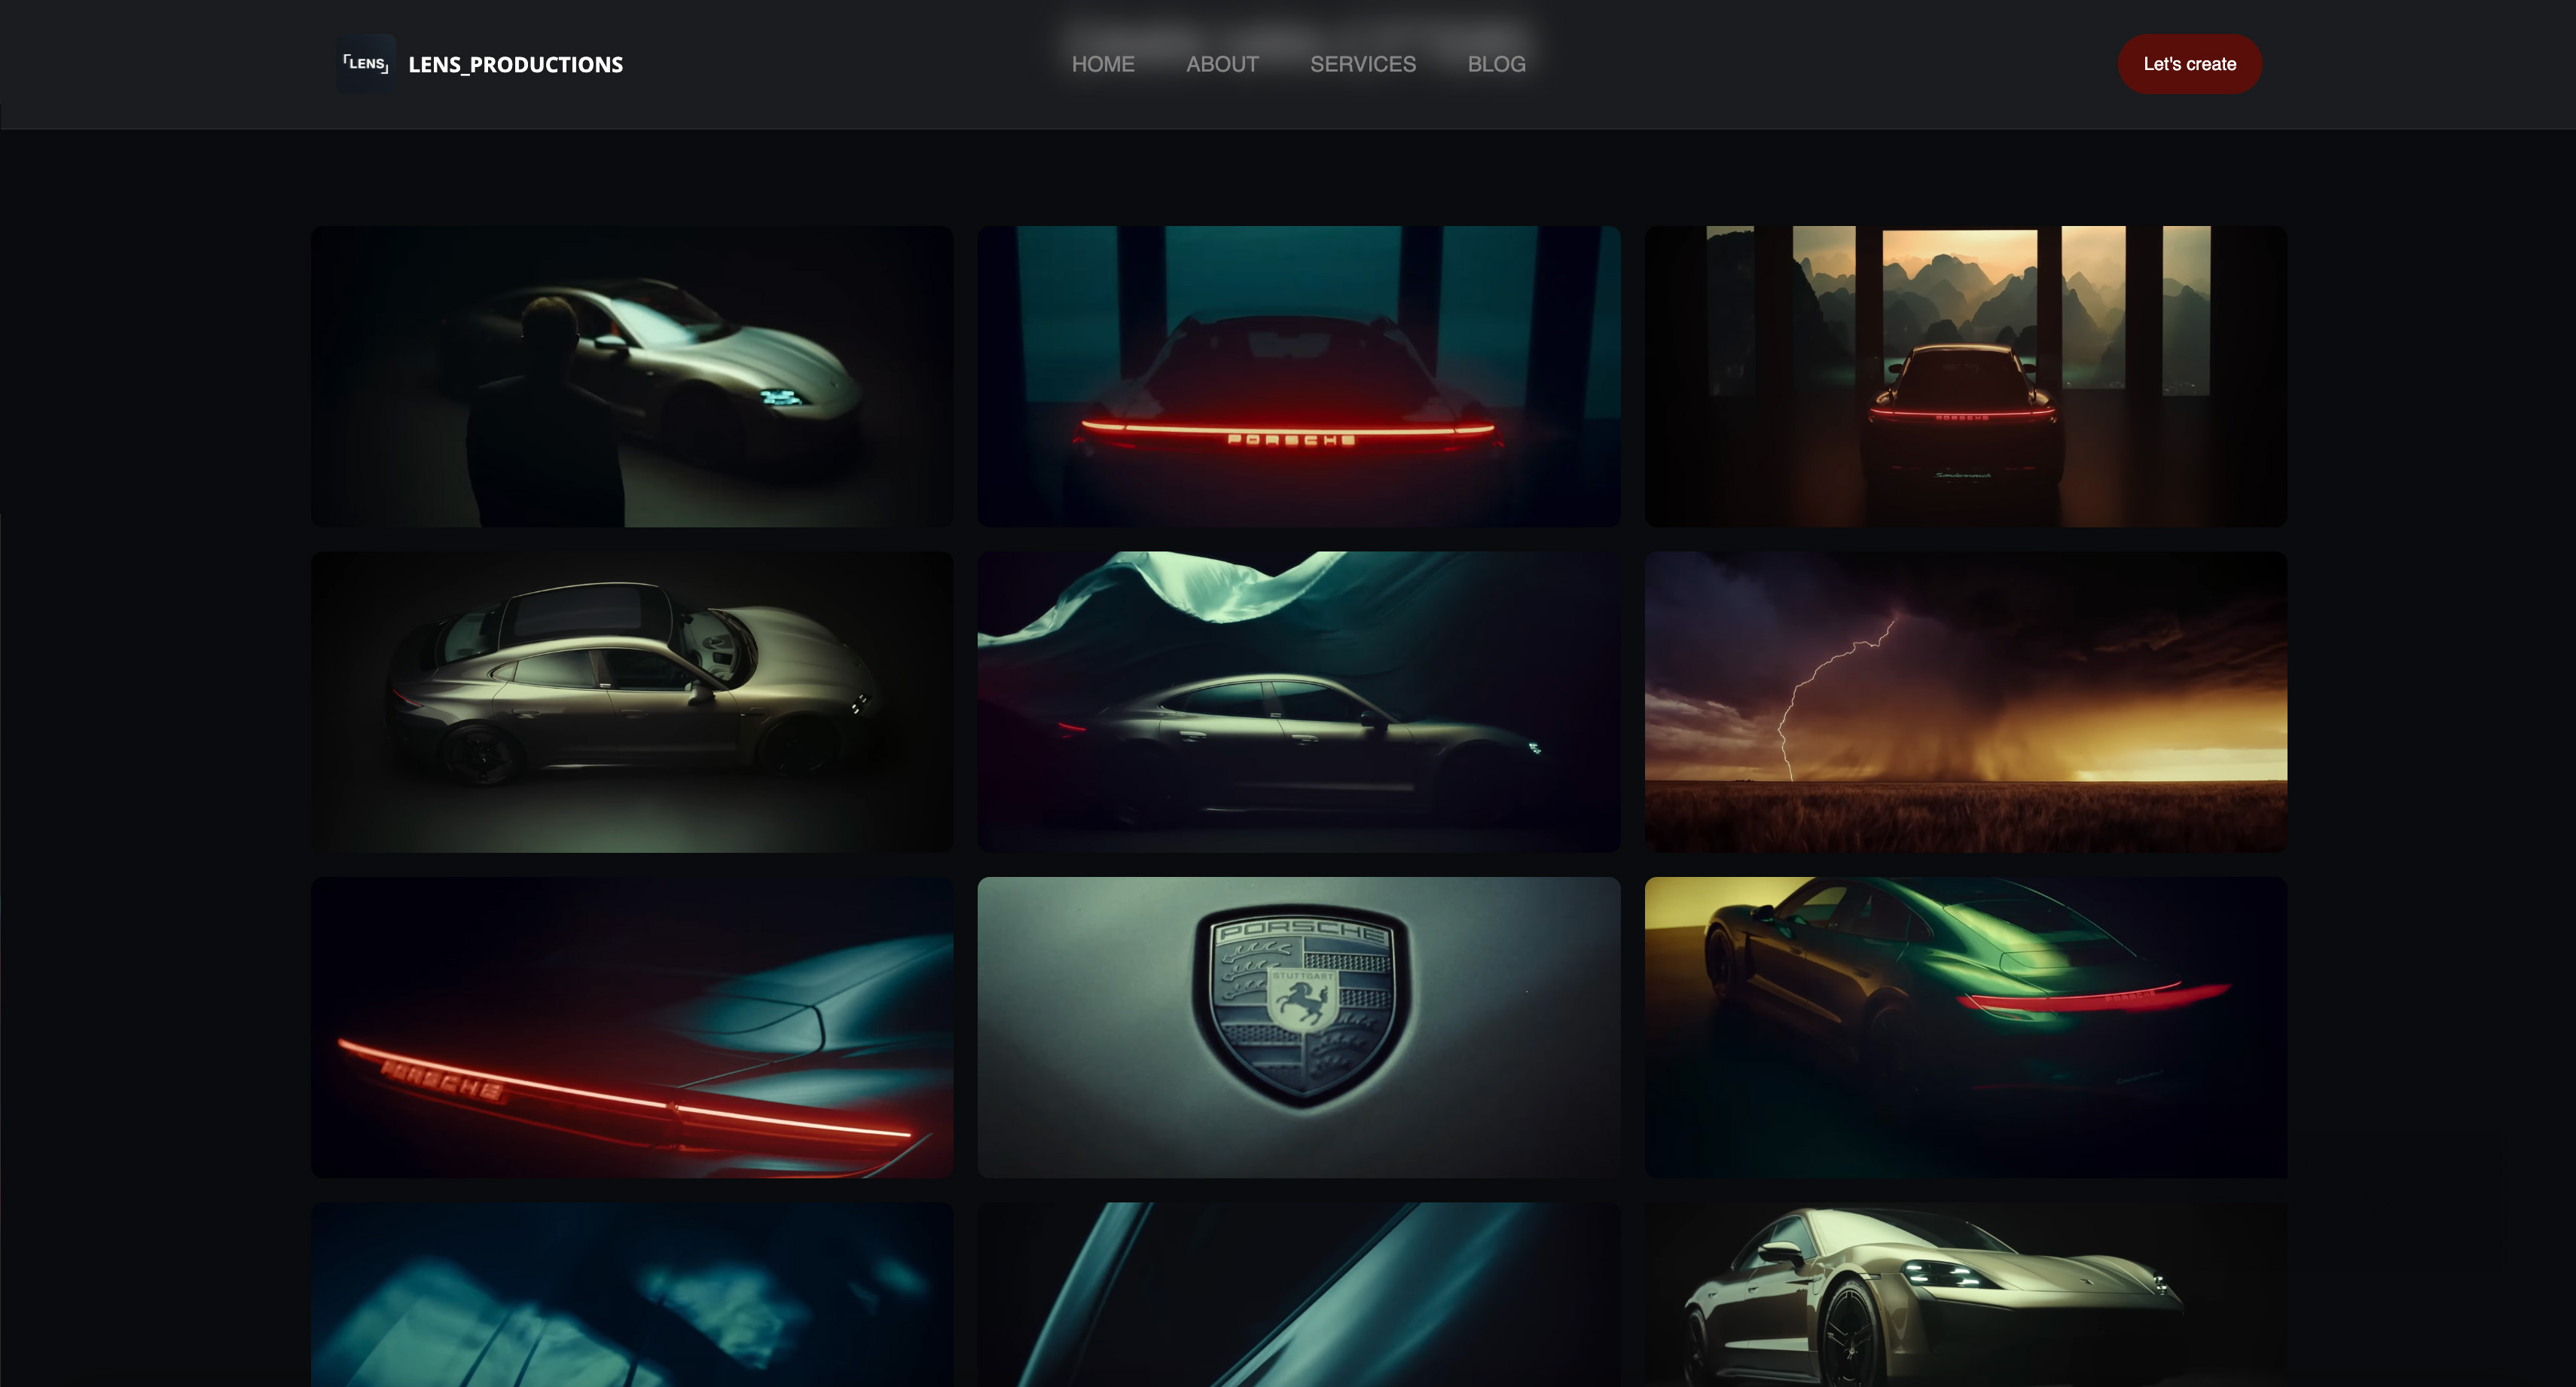
Step 3: Build a Portfolio Gallery That Shows Judgment, Not Volume
This step turns your project list into proof that you can solve real client briefs. You build a gallery of 8 to 12 stills in Framekit, pair each with a one-sentence project note, and order the work by the kind of project you want next rather than by date, because portfolio order quietly shapes the inbound briefs you get.
Open your Projects page in Framekit and add a gallery or grid section from the component library. Upload 8-12 stills and pair each with one sentence: project type, client context, and your role. Most filmmakers over-upload here. Thirty similar frames looks busy and signals weak editing standards.
Here is the non-obvious part: order your gallery by the kind of project you want next, not by date. If you want more founder-story films, lead with that work even if it is six months old. Portfolio order quietly shapes the inbound briefs you get.
Use category labels only if they help a buyer decide quickly, such as Brand Film, Product Film, Documentary, Event. Avoid over-tagging. A clean set of categories improves scanning on mobile.
After this step, you have a curated portfolio page that demonstrates taste, range, and service clarity.
Step 4: Write an About Page That Helps Clients Decide Faster
This step creates trust by framing your experience around the client outcome.
In Framekit, generate an About page with a two-part structure: a short positioning paragraph at top, then a simple timeline or credibility section below. Most filmmakers write an About page as autobiography. Producers are scanning for fit, reliability, and process, not your full personal timeline.
Use this formula for your top paragraph: who you help, what you make, how the process feels. Example: "I direct films for founders and creative teams who want emotional storytelling without heavy agency overhead."
Add practical trust details in bullets: typical project timelines, regions served, and whether you travel. This removes back-and-forth during inquiry. If you have testimonials, place one strong quote here.
Keep the page tight. Two strong sections outperform five thin sections. Framekit makes adding components easy, but restraint is what keeps your site feeling premium.
After this step, your About page answers the hiring question clients actually have: what is it like to work with you.
You are halfway there. If you have been reading without building, now is the time, and your free Framekit account is the only thing between you and a live portfolio.
Step 5: Set Up Your Contact Form So Inquiries Actually Arrive
This step builds the one page that turns interest into paid conversations. You add a Contact page in Framekit with a short form covering name, email, project type, timeline, and budget, enable notifications to your working inbox, and test a real submission before publishing so the site never looks dead.
Add a Contact page in Framekit and insert the built-in form block. Keep the form short: name, email, project type, timeline, and budget range. Filmmakers often ask ten questions up front and lose good leads. Your first goal is to start the conversation, not run a full intake interview.
In form settings, enable notification delivery to your main working inbox and test it with your own email before publishing. Do not skip this test. A broken notification setup can make your site look dead even when people submit.
Write a helpful confirmation message after submission: "Got it. I reply within one business day. If your timeline is urgent, include your shoot window in the message." This sets expectations and reduces anxious follow-ups.
Add one secondary contact option below the form, such as your management email or production partner contact if relevant. Keep it simple and professional.
After this step, your filmmaker website can capture and route real inquiries reliably.
Step 6: Optimize Your Filmmaker Website for Google in 2026 Before You Publish
This step makes your site discoverable and improves how your pages appear in search results. You give every page a unique title and meta description in Framekit's per-page SEO panel, let the platform handle server-side rendering and sitemaps in the background, and submit your sitemap to Google Search Console after launch.
Open each page in Framekit's per-page SEO settings panel and add a unique title and meta description. Keep them plain and specific. For your homepage, include filmmaker website language and your location if local work matters.
Framekit handles technical setup like server-side rendering, automatic sitemaps, and structured data support in the background. In practical terms, this means your pages load quickly and search engines can read them cleanly, which gives your new site a fair chance to rank.
Before publishing, open your homepage on a phone and confirm it loads quickly. You are aiming for fast load times on mobile, where many clients first check portfolios. If any page feels heavy, reduce oversized images first.
After launch, submit your sitemap in Google Search Console. It takes about ten minutes and helps Google discover your pages faster.
After this step, your filmmaker website is set up for both human visitors and search visibility in 2026.
Step 7: Publish Your Site and Handle First-Day Launch Anxiety
This step gets your site live and gives you a practical first-24-hours checklist.
Open the publish panel in Framekit, preview desktop and mobile one more time, then publish to your Framekit domain. If you already own a domain, connect it after the first publish so you can confirm everything works on a live URL.
Pre-launch nerves are normal. Most first-time publishers freeze because they think a site must be perfect before it can be public. It does not. A clear, working site with your best work beats an unfinished masterpiece draft every time.
Once live, send the URL to three people who hire or refer filmmakers and ask one question: "Is anything unclear about what I do or how to contact me?" Make only high-signal edits.
Then update your Instagram bio, email signature, and proposal footer with the new URL. Your site only helps if it is where people already look.
After this step, your filmmaker website is live, discoverable, and ready to bring in inquiries.
The Mistakes Most Filmmakers Make When Building Their Website (And How to Avoid Them)
Mistake 1: Treating the Portfolio Like an Archive
This happens because every project carries emotional weight, and cutting work feels like erasing effort. But clients read a portfolio as a decision document, not a memory timeline. Keep the strongest 8-12 pieces and rotate quarterly. A shorter portfolio with clear intent usually books better than a giant archive.
Mistake 2: Leading with Style Before Clarity
Many filmmakers spend hours on mood and transitions before stating what they actually do. The cost is confusion: visitors may admire your site and still not know if you shoot commercials, documentaries, or event work. Lead with one sentence of positioning at the top, then let style reinforce it.
Mistake 3: Writing an About Page for Peers Instead of Buyers
Film peers may care about cameras, festivals, and technical details. Buyers usually care about process, reliability, and whether you can deliver under real deadlines. Rewrite your About page around client outcomes, collaboration style, and timeline expectations.
Mistake 4: Overcomplicating the Contact Form
Filmmakers often ask for treatment details, shot list context, and full budgets before the first reply. This blocks warm leads who are still figuring out scope. Ask only what you need to start a useful conversation.
How to Make Your Filmmaker Site Actually Work After It's Live in 2026
- Submit your sitemap the same day you launch.
Open Google Search Console, verify your domain, and submit the sitemap Framekit generates automatically. This is the fastest way to help Google find your new pages.
- Write custom meta descriptions for every page this week.
This is a high-impact 10-minute SEO task most creators skip. Use Framekit's per-page SEO settings to write clear descriptions for Home, Projects, About, and Contact.
- Route all inquiry traffic to your website URL, not social profile links.
Put your domain in your Instagram bio, email signature, proposal template, and LinkedIn contact section.
- Review form notifications and inquiry quality weekly.
In Framekit form settings, confirm notifications still hit your primary inbox and adjust one form field based on lead quality.
If you are still comparing platforms before committing, read our ranked guide to the best website builders for filmmakers and our breakdown of the best AI website builder for filmmakers. Videographers building reel-led sites should also see our best portfolio website builder for videographers comparison.
If your filmmaker portfolio is not booking clients yet, the site you just learned how to build is the first step - and Framekit's free plan makes today a practical day to fix it: framekit.ai
Frequently Asked Questions
How long does it take to build a filmmaker website with Framekit?
Most filmmakers can complete a first publish in a single day if assets are ready. Plan roughly 45 minutes for setup and homepage, 60 minutes for portfolio and about page, 30 minutes for contact and SEO settings, and 15-30 minutes for launch checks. If your reel link and stills are organized beforehand, a same-day launch is realistic.
Do I need coding skills to build a filmmaker website?
No. Framekit handles layout generation, component styling, responsive behavior, and technical publishing without requiring code. You can generate pages from prompts, add sections from the component library, and edit content directly in the visual editor. SEO settings, contact forms, and publishing are all in UI panels.
What should a filmmaker portfolio website include?
At minimum: a homepage with your reel above the fold, a curated projects page, a client-focused about page, and a clear contact page. Each project should include short context about the brief and your role so buyers can map your work to their needs. The most common omission is a strong contact flow with clear response expectations.
Is Framekit free for filmmaker professionals?
Yes, Framekit has a free plan you can start without a credit card, and it supports the full build flow in this tutorial. Many filmmakers use the free plan to get live quickly, then upgrade when they want custom domain connection or advanced publishing options. The Pro plan is 19 dollars per month, and there is also a lifetime option if you want to avoid ongoing subscription cost.
How do I get my filmmaker website to show up on Google?
Start with three actions before publishing: write unique page titles and meta descriptions, keep pages fast on mobile, and make sure your sitemap is available. Framekit already provides strong technical foundations such as server-side rendering and automatic sitemap generation, so you can focus on page-level relevance. After launch, submit your sitemap in Google Search Console and request indexing for key pages.
What if my Framekit site does not look as good as a custom-designed filmmaker site?
That fear is common, especially if you compare your first draft to agency sites built over months. The quality gap usually comes from content decisions and editing discipline, not platform limits. Use one clear positioning line, lead with your strongest reel, and keep your project count curated.
Final Verdict: Your Filmmaker Website Is One Day Away
You have probably been postponing this because it felt bigger and messier than it needed to be. It is actually a clear seven-step process you can complete today: set positioning, lead the homepage with your reel, curate the portfolio, write a buyer-focused about page, wire up a working contact form, optimize for speed and search, then publish and share. Follow them and you finish the day with a live filmmaker website that shows your best work, explains what you do, and makes it easy for clients to reach you.
Framekit is the fastest way through that process because its designer-trained AI does the layout, hierarchy, and styling work for you, and it is built for fast-loading, performance-optimized output so your reel actually loads. If you want to confirm the platform choice first, our Framekit vs Squarespace comparison breaks down design quality and performance side by side.
The steps in this guide work. The only variable is whether you open Framekit today or keep telling yourself you will get to it. The free plan is genuinely free, with no credit card and no time limit.